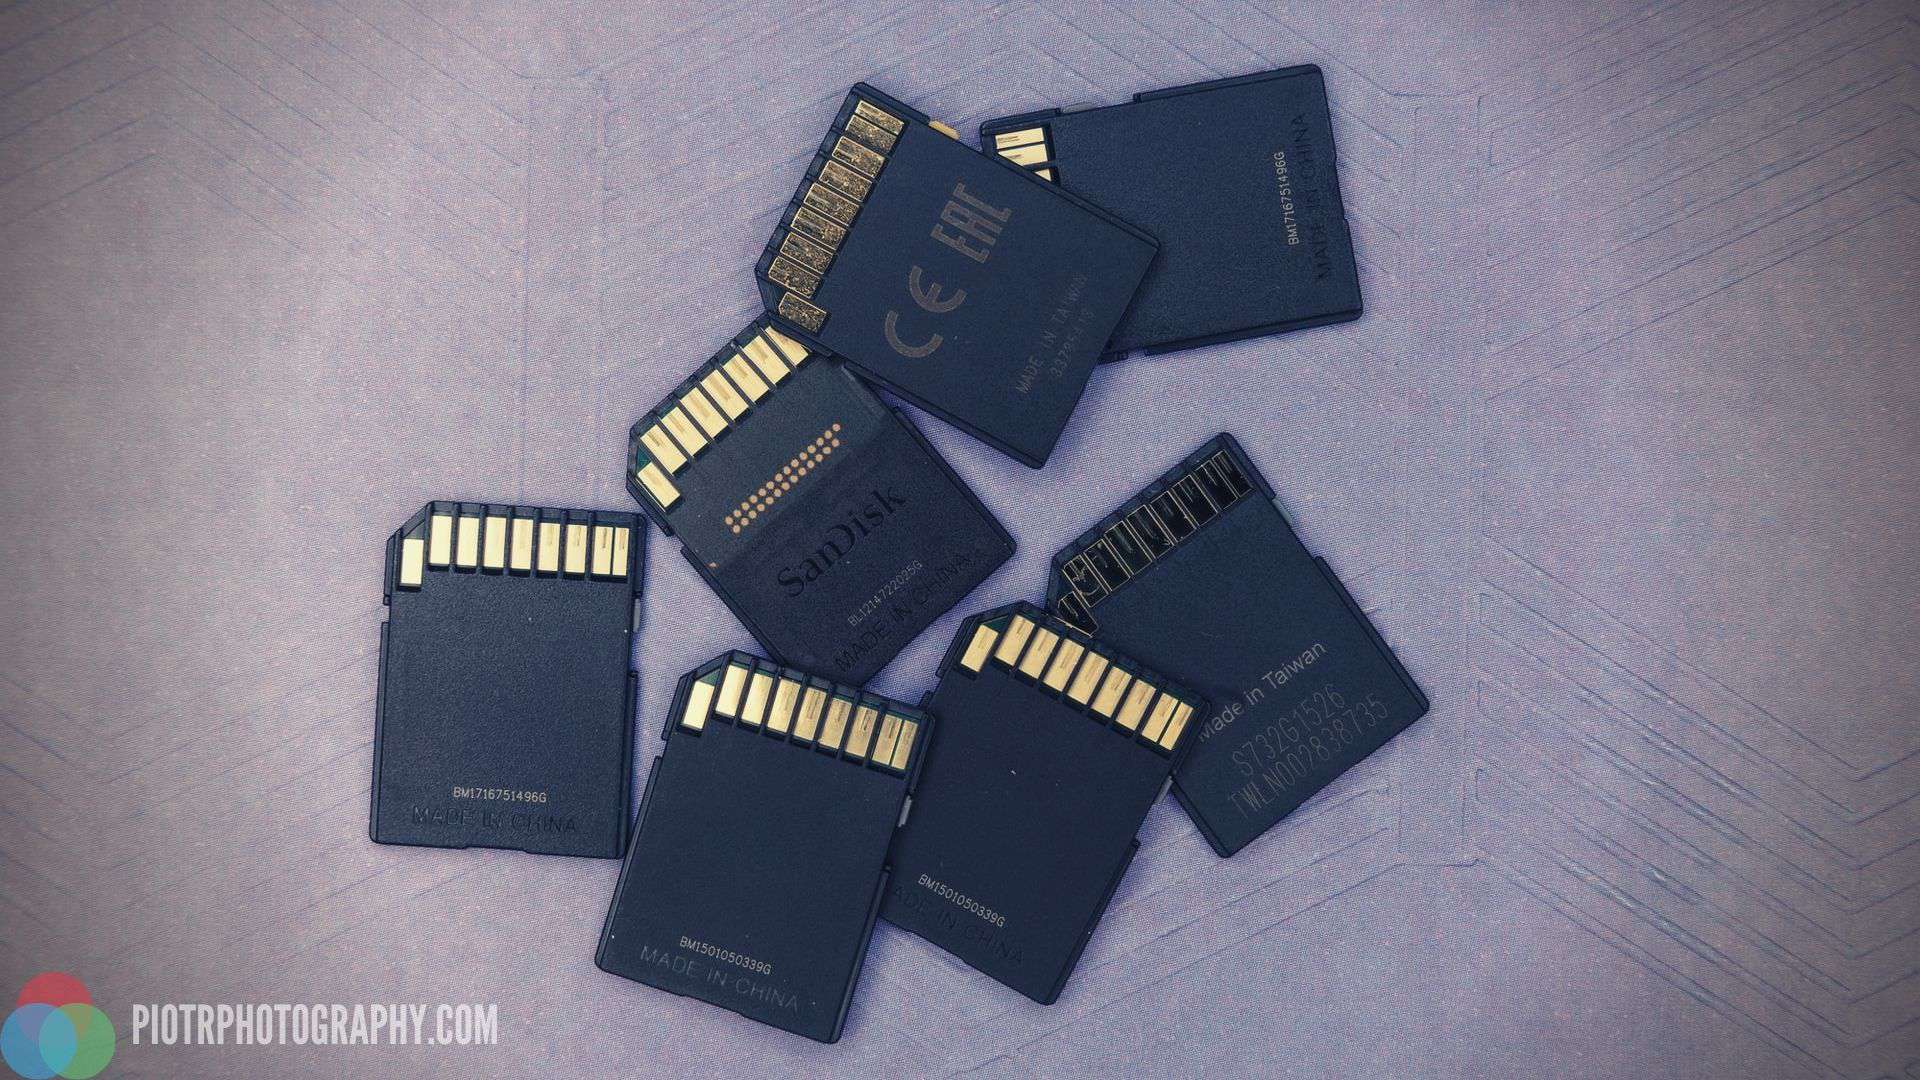
An SD card holds a lot of data in your camera. To keep your SD card secure and make sure that your camera is ready before your next photography shoot, you might want to format the SD card before each use.
This article covers the need to format an SD card and the various ways to format your SD card.
The Need to Format an SD Card
A Secure Digital card (SD card) is a memory card, used in a lot of portable electronic devices. These days, SD cards are mostly used in digital cameras, while other devices such as cell phones have moved on to smaller micro SD cards or built-in memory.
Before a photography shoot, you need to ensure that your SD card is functioning, so that there are no card errors during the shoot. Card errors might not allow you to capture more photos and videos and even corrupt the existing data on your card.
To avoid such issues, you should format your SD card before each use, after backing up your data, of course.
Erasing vs Formatting
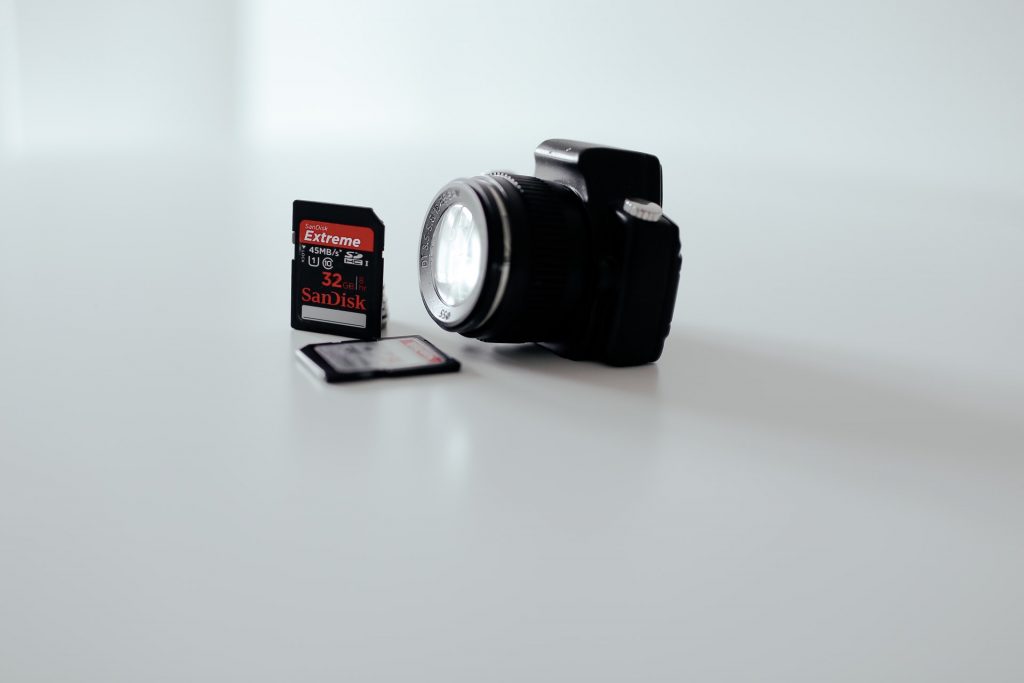
Surely you would want to carry a fresh, empty SD card before you set about on your photography quest. Now, should you just empty out the existing content or format the card?
Erasing data from your SD card simply deletes existing photos and videos from the card. This does not mean that the entire SD card is cleared as there could be some residual data.
Also, erased data can be recovered using data recovery software. Formatting is an irreversible process, and the data typically cannot be retrieved. So, the card will feel like a brand new card, every time you format it.
Formatting also allows SD cards to be compatible when switched between different cameras. Different cameras might have different file structures. So, an SD card with data in one file structure could cause errors when used in a camera with a different file structure. Formatting the card before the switch can avoid this issue.
Deleting data is also a slow process, as it involves the movement of the data from the SD card to the bin of your computer. Formatting happens much quicker and is a more efficient way to reset your SD card.
How to Format an SD Card
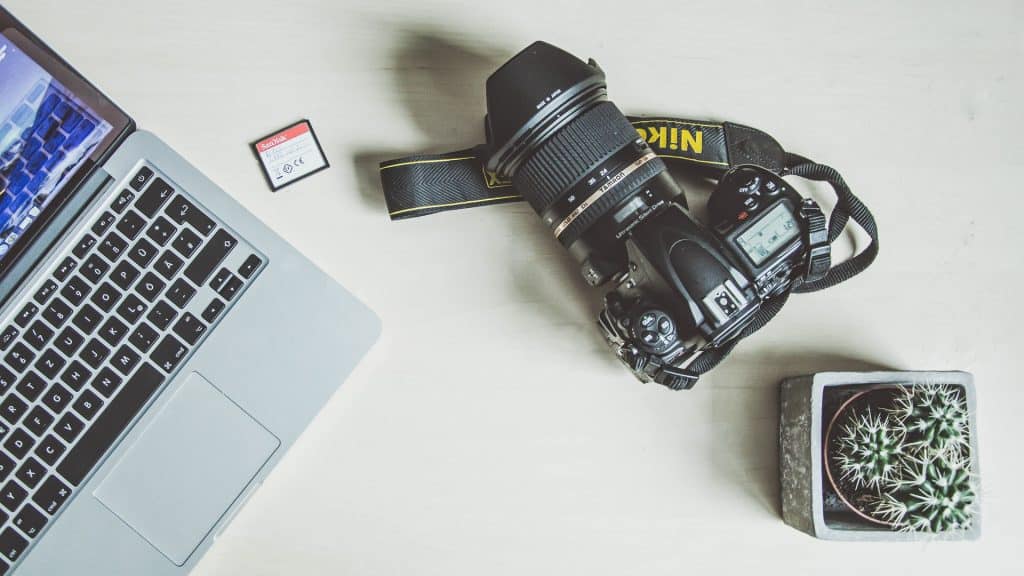
There are multiple ways to format an SD card, based on the device you use. You can either format your SD card within the camera/device it is used in, or you can connect it to your computer and then format it. Formatting within the camera helps to keep the file structure in the memory card compatible with the camera. The following may help you with this process.
1. Formatting an SD Card Using a Macbook/iMac
- Using a card reader, connect your card to your computer.
- On your computer, open ‘Disk Utility’.
- Navigate to your SD card. If you haven’t renamed your SD card yet, it might appear as ‘Untitled’ or ‘No Name’.
- Now, navigate to the ‘Erase’ tab and click on ‘Format’.
- Here, you will be asked to choose the file system.
- Based on the total memory of your SD card, choose:
- ‘MS-DOS (FAT32)’ if your card if is 32 GB or lower
- ‘exFAT’ if your card if is 64 GB or higher
- Next, on the confirmation screen, click on ‘Erase’.
Once the process completes, your SD card is successfully formatted.
2. Formatting an SD Card Directly from the Camera
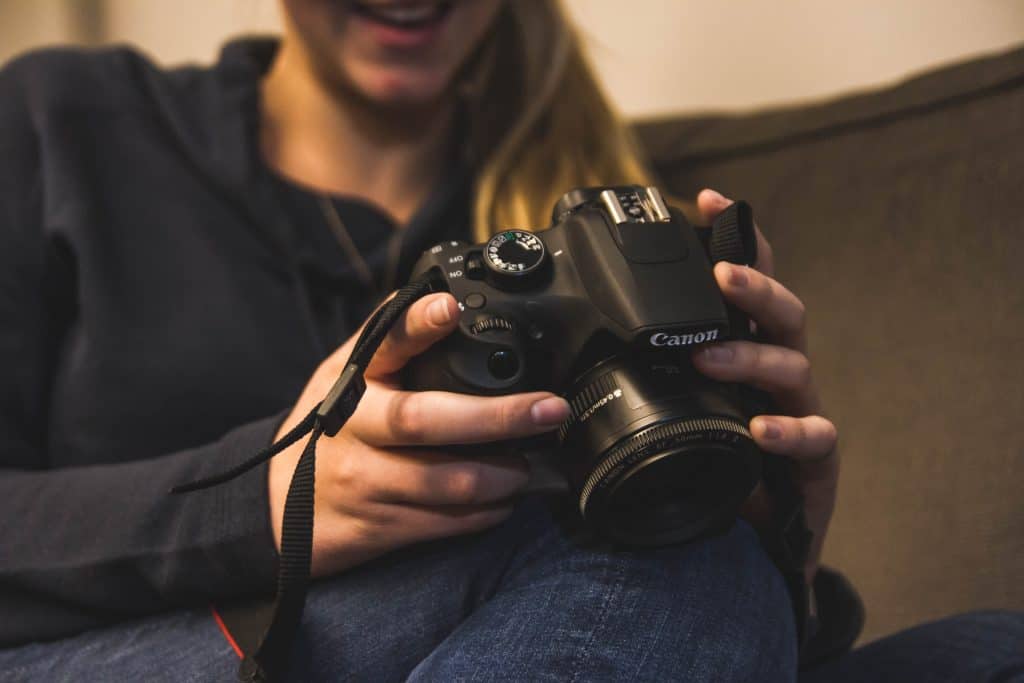
The following steps are an example based on a Canon camera, but you can find similar menus on other brands as well.
- Turn on your camera and click the ‘Menu’ button.
- Scroll down to the ‘Camera Settings’ menu.
- Select ‘Format’ and ‘OK’ to format your card. This will delete all your files and format the card.
3. Formatting an SD Card Directly in a GoPro Camera
GoPro cameras have slightly different menus, so these are the steps to format your SD card on a GoPro. This should work for most GoPro models.
- Turn on your camera and swipe down to the ‘Menu’.
- Tap on ‘Preferences’.
- Scroll to the bottom of this screen and tap on ‘Reset’.
- Tap on the ‘Format SD card’ option and then tap on ‘Format’ to confirm. This will delete all your files and format the card.
4. Formatting an SD Card on a Windows PC/Laptop
- If you have a built-in SD card port on your computer, insert your SD card. Else, connect your card to the computer using a card reader.
- If the card is recognized automatically, a window should pop-up showing the card data. If not, open ‘File Explorer’.
- In the left sidebar, click on ‘This PC’. Here, your SD card should be visible.
- Right-click on the name of your SD card. In this menu, click on ‘Format’.
- If needed, you can change the name of your SD card in the ‘Volume label’ input box.
- Next, click on ‘Start’ or ‘Restore factory defaults’ and then confirm the data warning by clicking on ‘OK’.
Once completed, you will get a message stating that the card has been successfully formatted.
5. Formatting an SD Card on a Windows PC/Laptop Using CMD
- Using a card reader, connect your card to your computer.
- Type ‘cmd’ in your Windows search box.
- Right-click on the ‘Command Prompt’ result, and click on ‘Run as administrator’.
- In the command prompt screen, type ‘diskpart’ and press ‘Enter’.
- Next, type ‘list disk’ and press ‘Enter’. This will show you a numbered list of available disks on the system.
- Type ‘select disk <disk number>’ with the corresponding number of the SD card and press ‘Enter’.
- Type ‘format fs=ntfs’ or ‘format fs-exfat’ and press ‘Enter’ (ntfs for 32 GB and lower, exfat for 64 GB and higher). This should successfully format the SD card.
To Conclude
Formatting an SD card is a pretty quick, straightforward task. It is an important step to be done before any shoot, to ensure your card doesn’t fail in the middle of a shoot. Hopefully, this article helps you with the several ways you can format an SD card.
