What does a polarizing filter do? A CPL guide
by Konstantin Voronov, translated by Piotr · Accessories
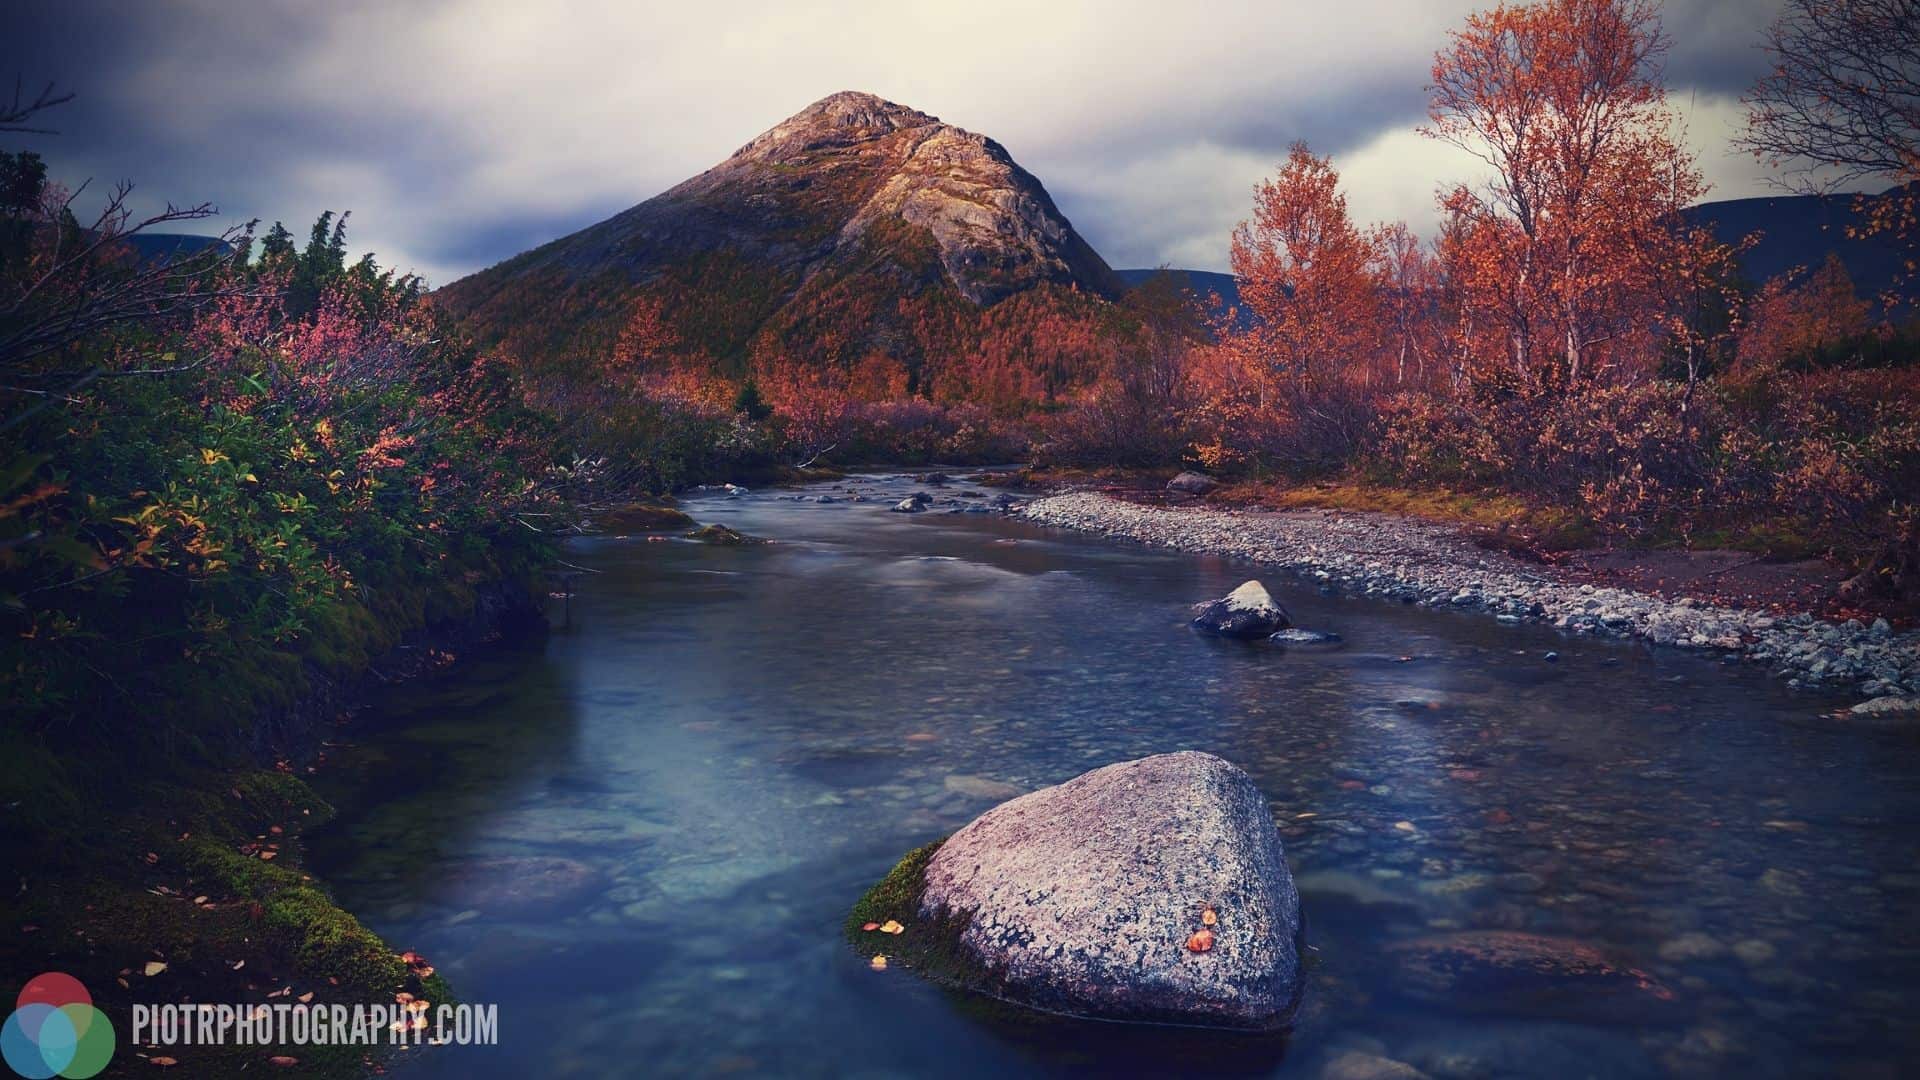
In short: The main job of a polarizer is cutting off polarized light, mostly reflections, which removes glare from glass, water and glossy non-metallic surfaces. It also darkens a blue sky and makes colors more saturated and clouds more contrasting. Turn its rotating ring until the unwanted glare disappears, and allow for about 2 stops of light loss.
A polarizing filter is one of the few tools that give an effect that cannot be achieved with processing on a computer. Below, we will figure out why it is needed and how it is used.

What does a polarizing filter do?
A polarizing filter is a device that cuts off polarized light. As far as photography is concerned, polarized light is contained primarily in reflections. That is, a polarizing filter allows you to remove unwanted reflections and glare from objects in the photo. It is used by photographers to control glare on glass, water, and other glossy non-metallic surfaces.
Where photographers use a polarizer
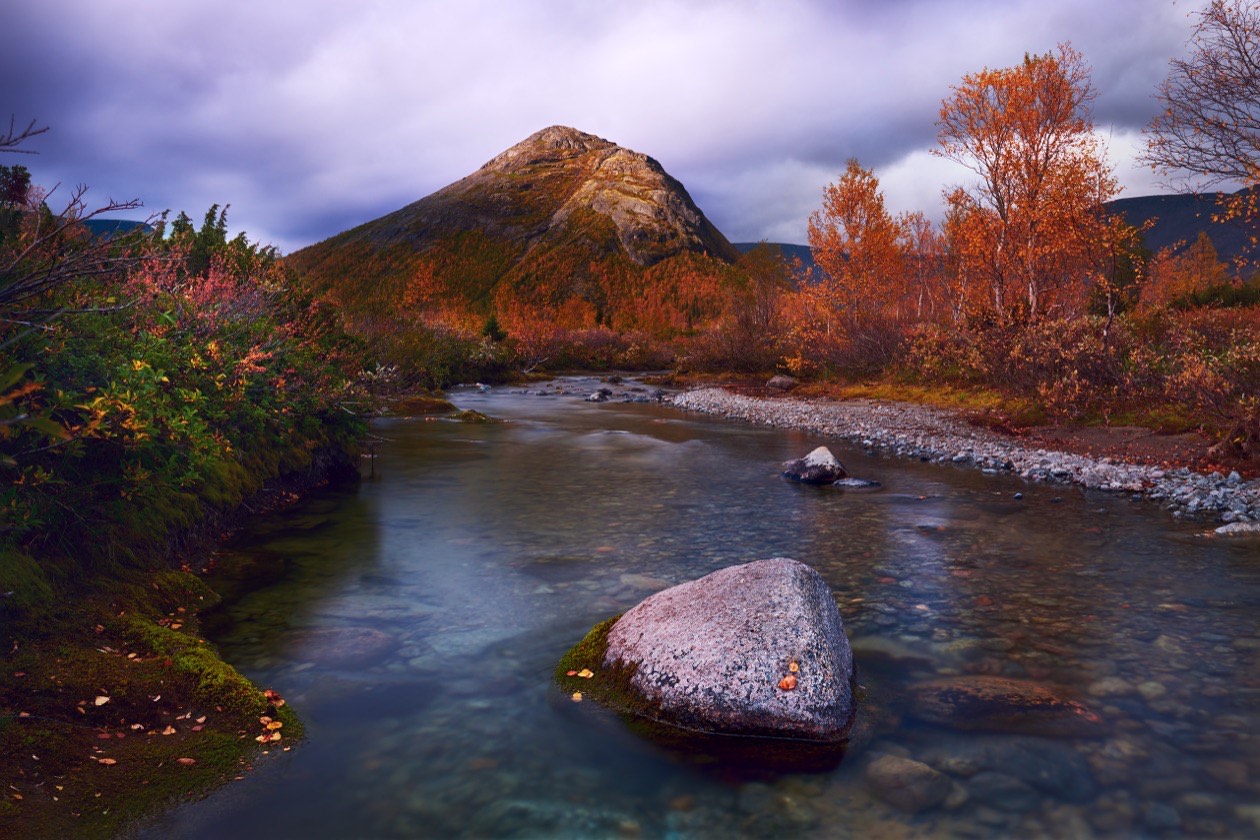
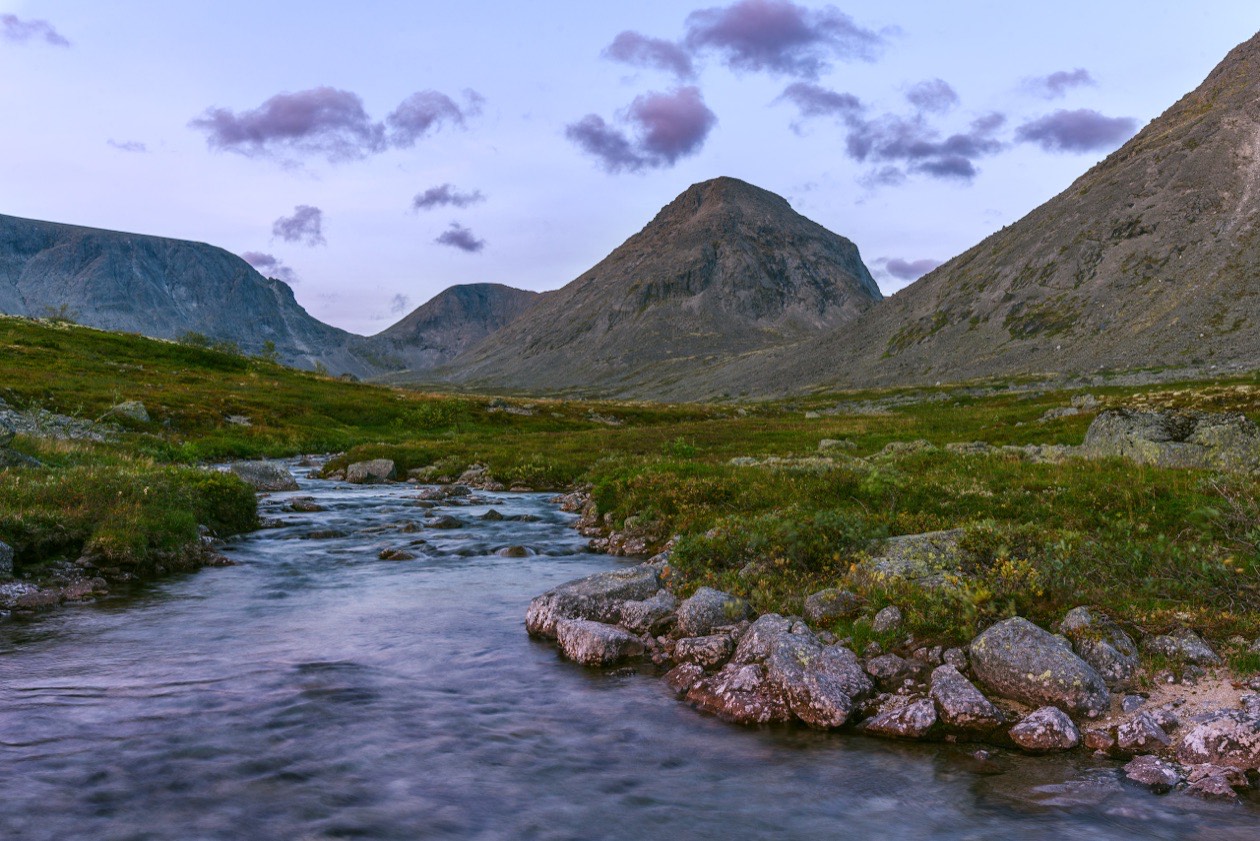
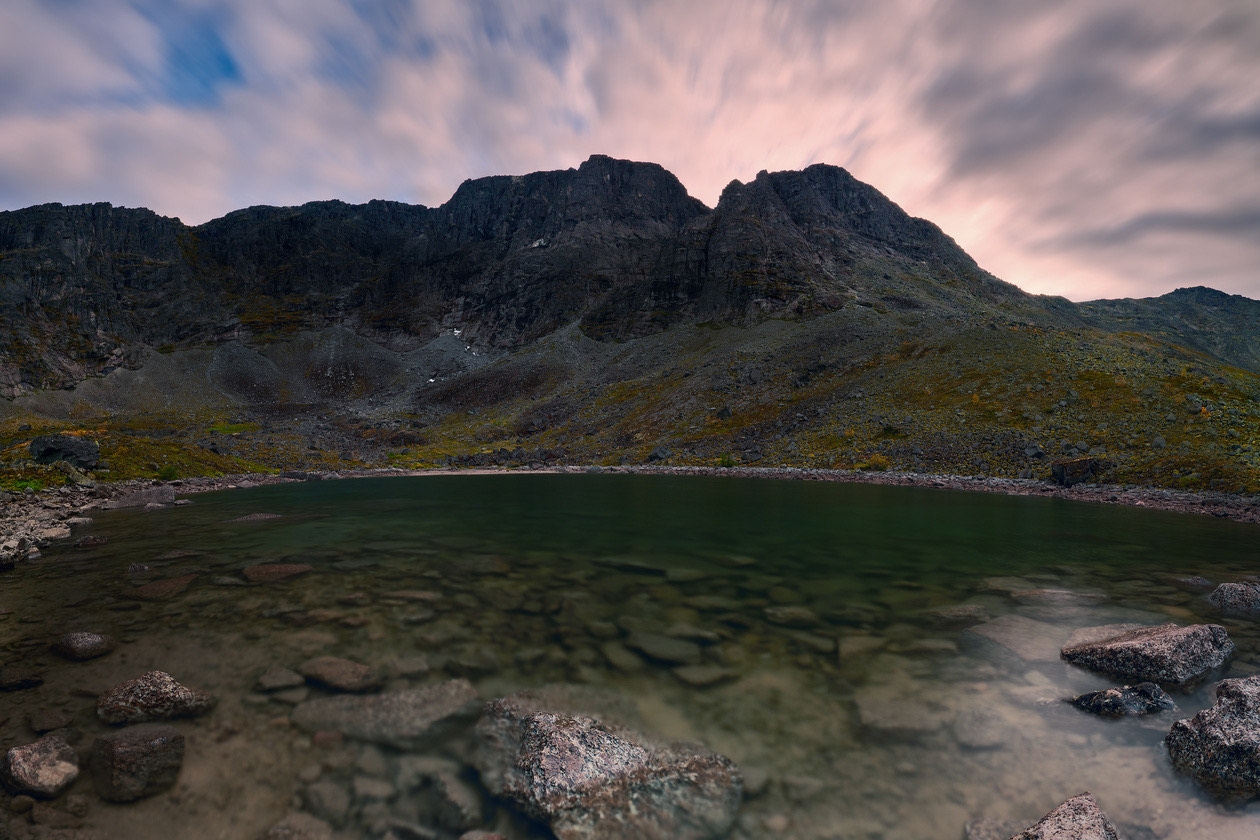
In landscape photography, a polarizing filter is used to eliminate glare on water and enhance textures. In portrait photography, it is used to remove unwanted glare from a person’s face. And when shooting a model sitting at a table inside a cafe from the street, you can remove all reflections from the shop window with the help of the filter.
The situation is similar for wedding photography: a classic shot with a bride smiling from a limousine window is more convenient to shoot with a polarizing filter so that the photographer himself is not reflected in the glass.
A polarizing filter has a long list of applications. It is important for the photographer to use observation and imagination in order to understand which glare or reflection it is desirable to remove, and which to leave and emphasize.

More contrast, richer color, a darker sky
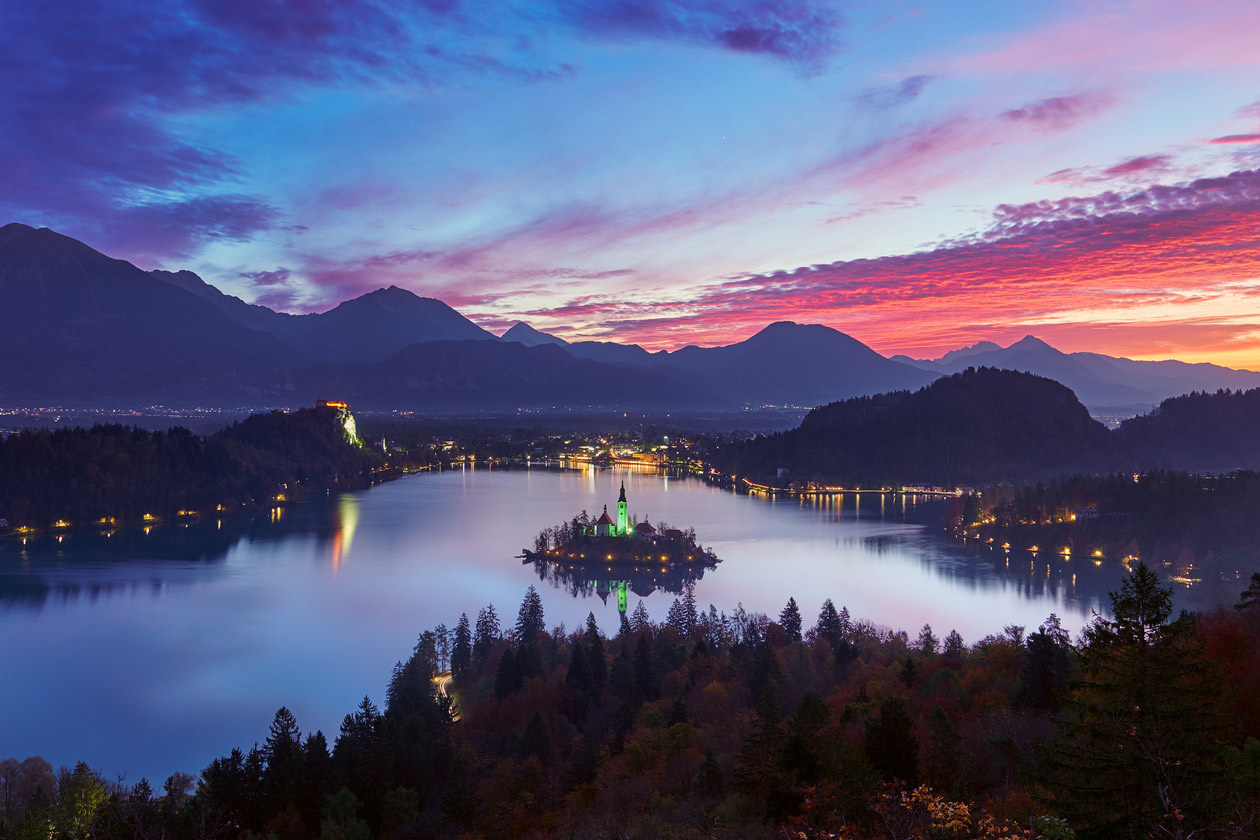
In addition, the filter can make the picture a little more contrasted, and the colors more saturated. It helps if you need to shoot in a strong haze, on a hot summer day. Without a filter in such conditions, frames are faded. And when you use it, the blue tint of the sky in the frame will become darker and brighter, and the contours of the clouds will become more contrasting.
Linear (PL) vs circular (CPL) polarizers
In terms of working with polarized light, polarizing filters are divided into linear (PL marking) and circular (CPL marking). However, linear polarizing filters are almost impossible to find on the market today. The fact is that they disrupt the operation of exposure metering and phase focusing of the camera, which means that they can only be used in fully manual shooting mode. The overwhelming majority of filters on the market are CPL – they do not have any negative impact on the camera’s automation.
| Linear polarizer | Circular polarizer | |
|---|---|---|
| Marking | PL | CPL |
| Effect on the photo | Removes glare and darkens the sky | The same effect as a linear polarizer |
| Exposure metering and phase-detection autofocus | Disrupted | No negative impact |
| Shooting mode | Fully manual only | Camera automation works as usual |
| Construction | A linear polarizing layer | A linear polarizer on the front, a quarter-wave plate on the back |
| How to tell them apart | The effect works whichever side you look through | The effect works only when you look through the threaded back side |
| Availability today | Almost impossible to find | The overwhelming majority of filters on the market |
Filter formats and how to fit one
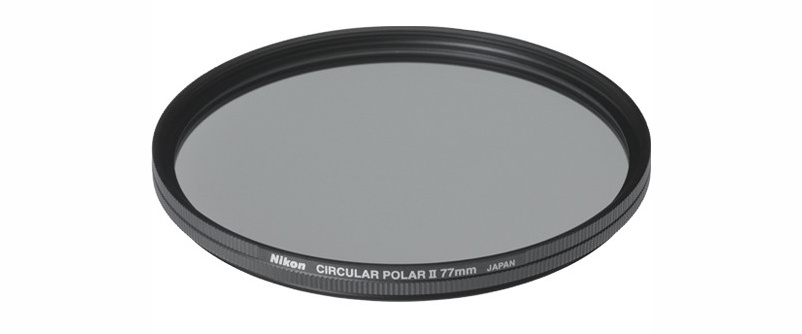
Like other light filters, polarizing filters are available in different formats. As a rule, photographers use those that screw on the threads around the front lens. When choosing such a filter, find out the thread size of your lens and select the appropriate filter diameter. The thread diameter is always indicated in the lens specifications, on the back of the lens front cap, and usually on the barrel of the lens itself.
A threaded polarizing filter has a rotating ring on its rim. With it, we rotate the filter and find its ideal position, in which the glare that we want to remove from the frame is eliminated.
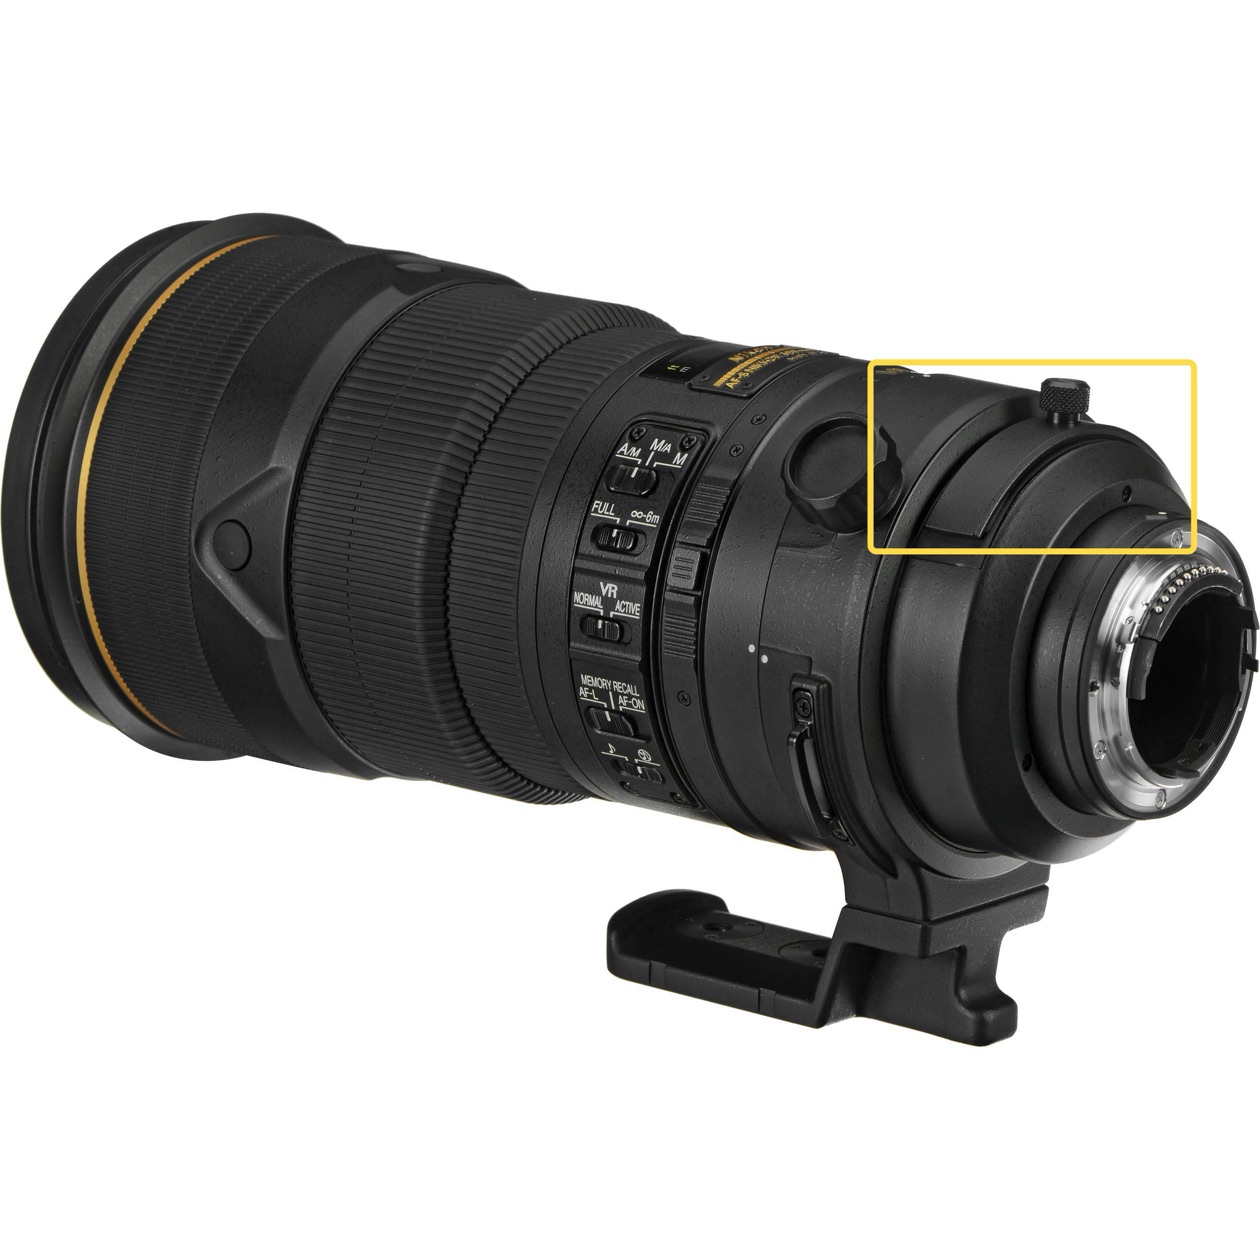
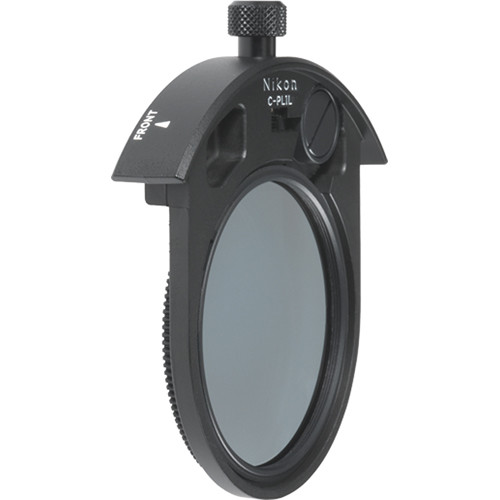
Anyway, the polarizing filter can be produced as a rectangular plate for a special holder, and as a special filter insert for lenses with a very large front lens.
Light loss: about 2 stops
All polarizing filters darken the frame a little, by about 2 stops of exposure. This is important to keep in mind when shooting in low light. Therefore, the polarizing filter, in contrast to the protective one, should not be worn on the lens all the time – shooting handheld with it in low light is ineffective.
However, sometimes this property of a polarizing filter should be used to your advantage. It can replace an ND4 neutral gray filter. This is useful, for example, when we shoot with high-aperture optics in very bright light. This protects the frame against overexposure. And landscape photographers will be able to use the darkening properties of the filter when shooting at long exposures with a tripod.
Rule of thumb: a polarizer costs about 2 stops of light, so it should not live on the lens the way a protective filter does. Take it off for handheld shooting in low light, and put the same darkening to work with a fast lens in bright sun or for long exposures from a tripod.
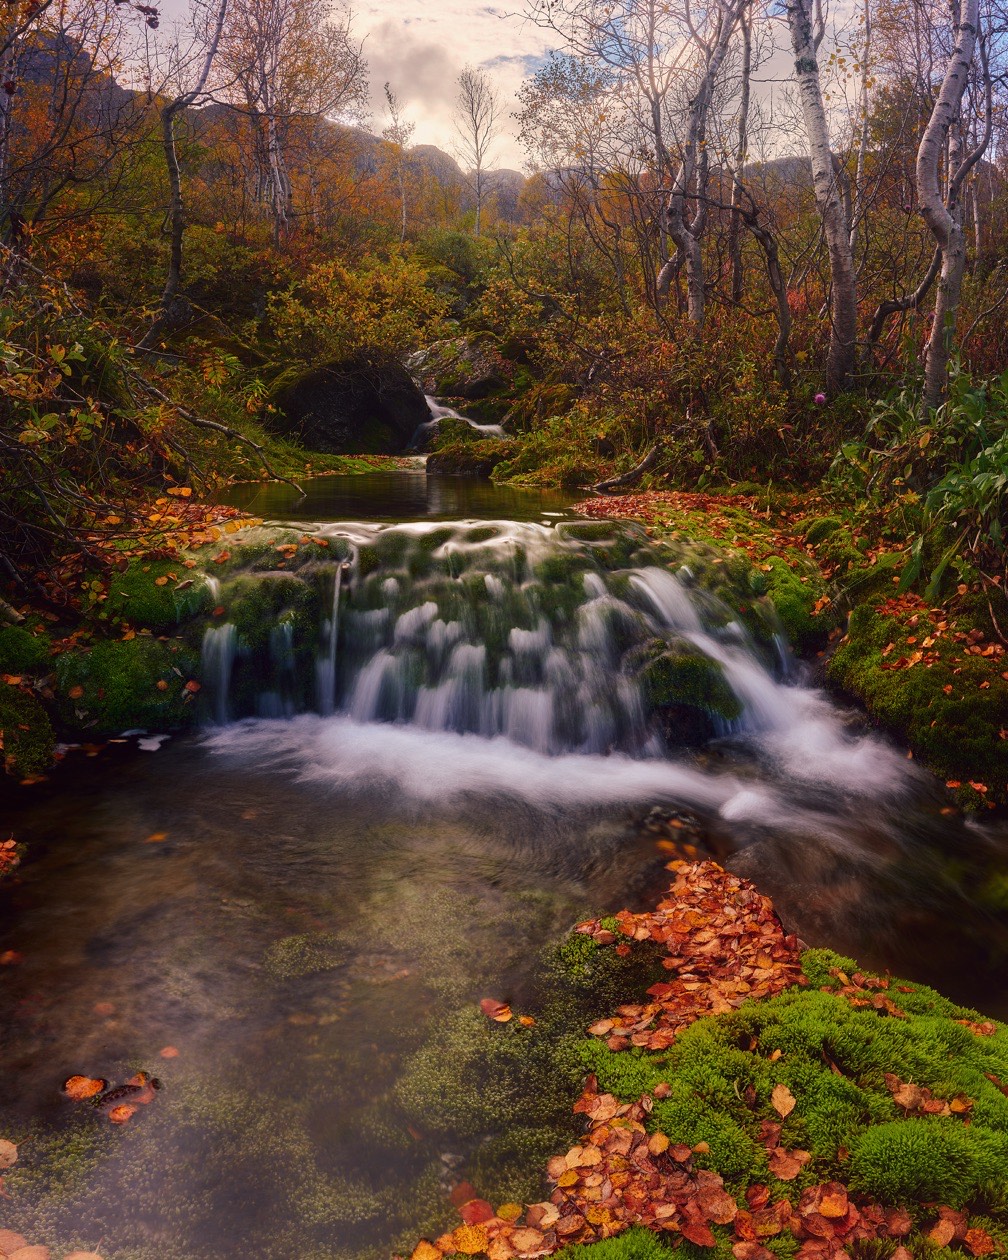
Uneven sky on ultra-wide lenses
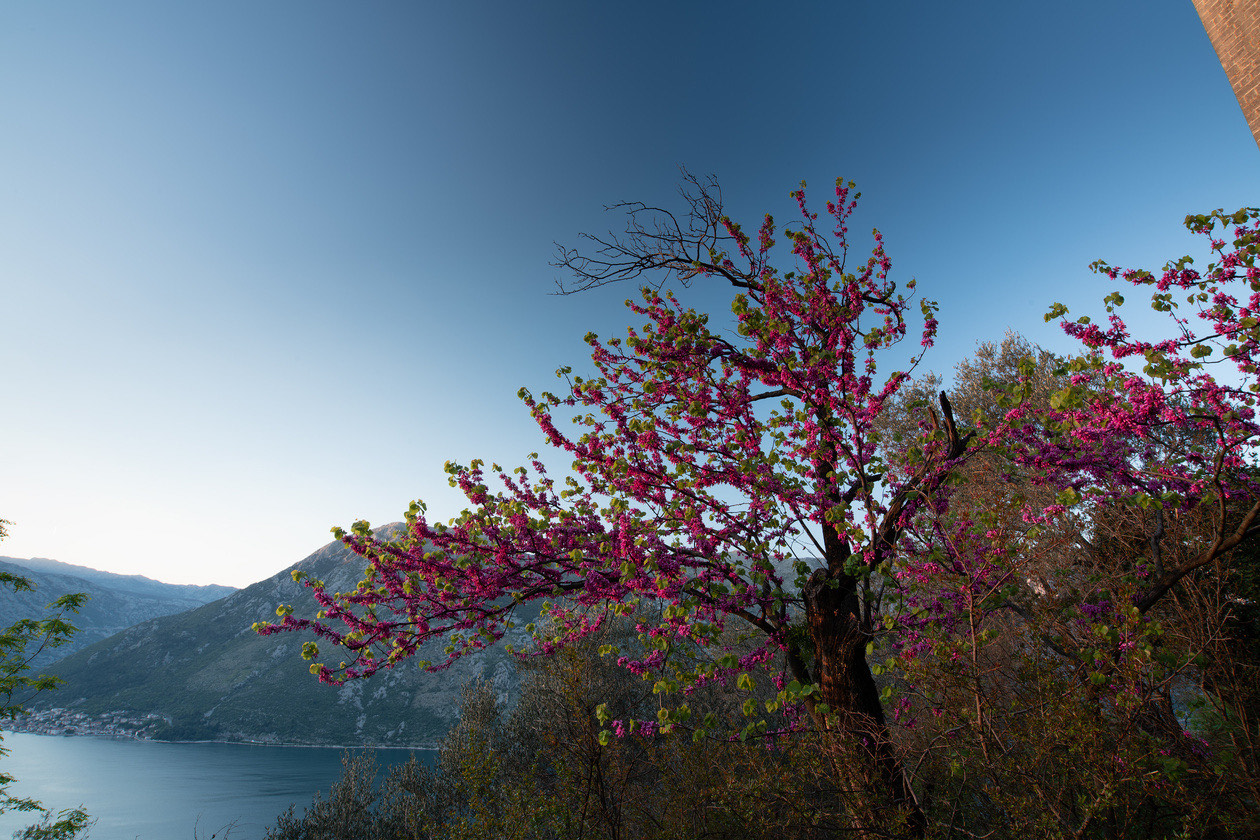
Another feature of a polarizing filter is that when used on ultra-wide-angle optics, it can cause uneven darkening in the sky. This effect does not depend at all on the quality and price of the filter itself, such is physics.
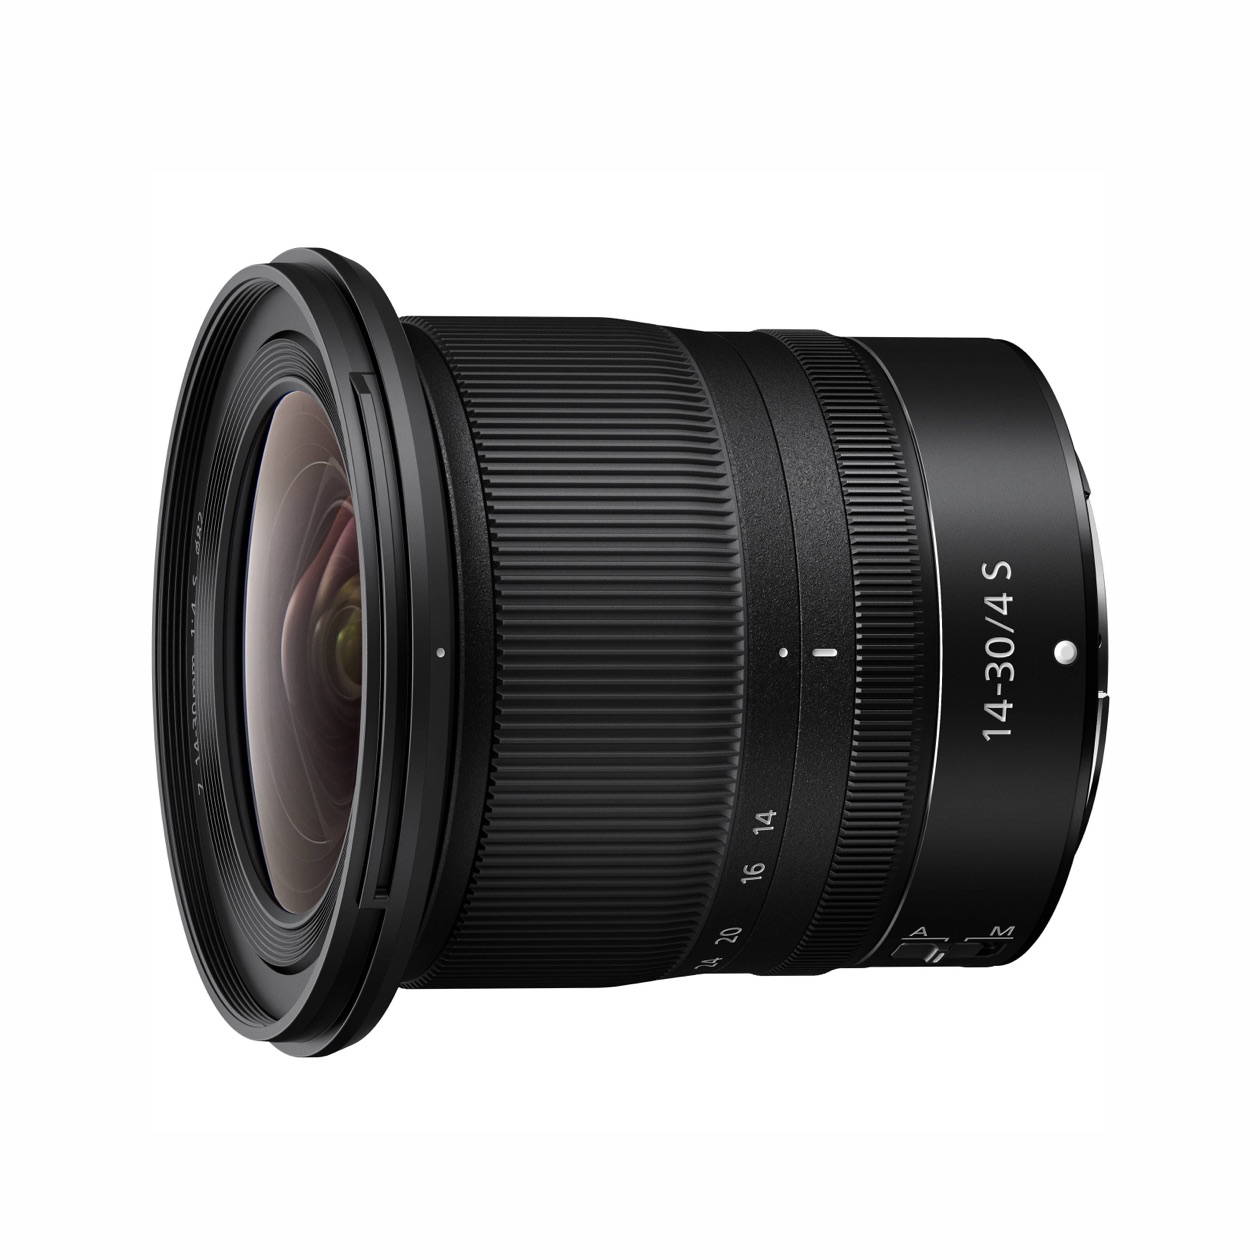
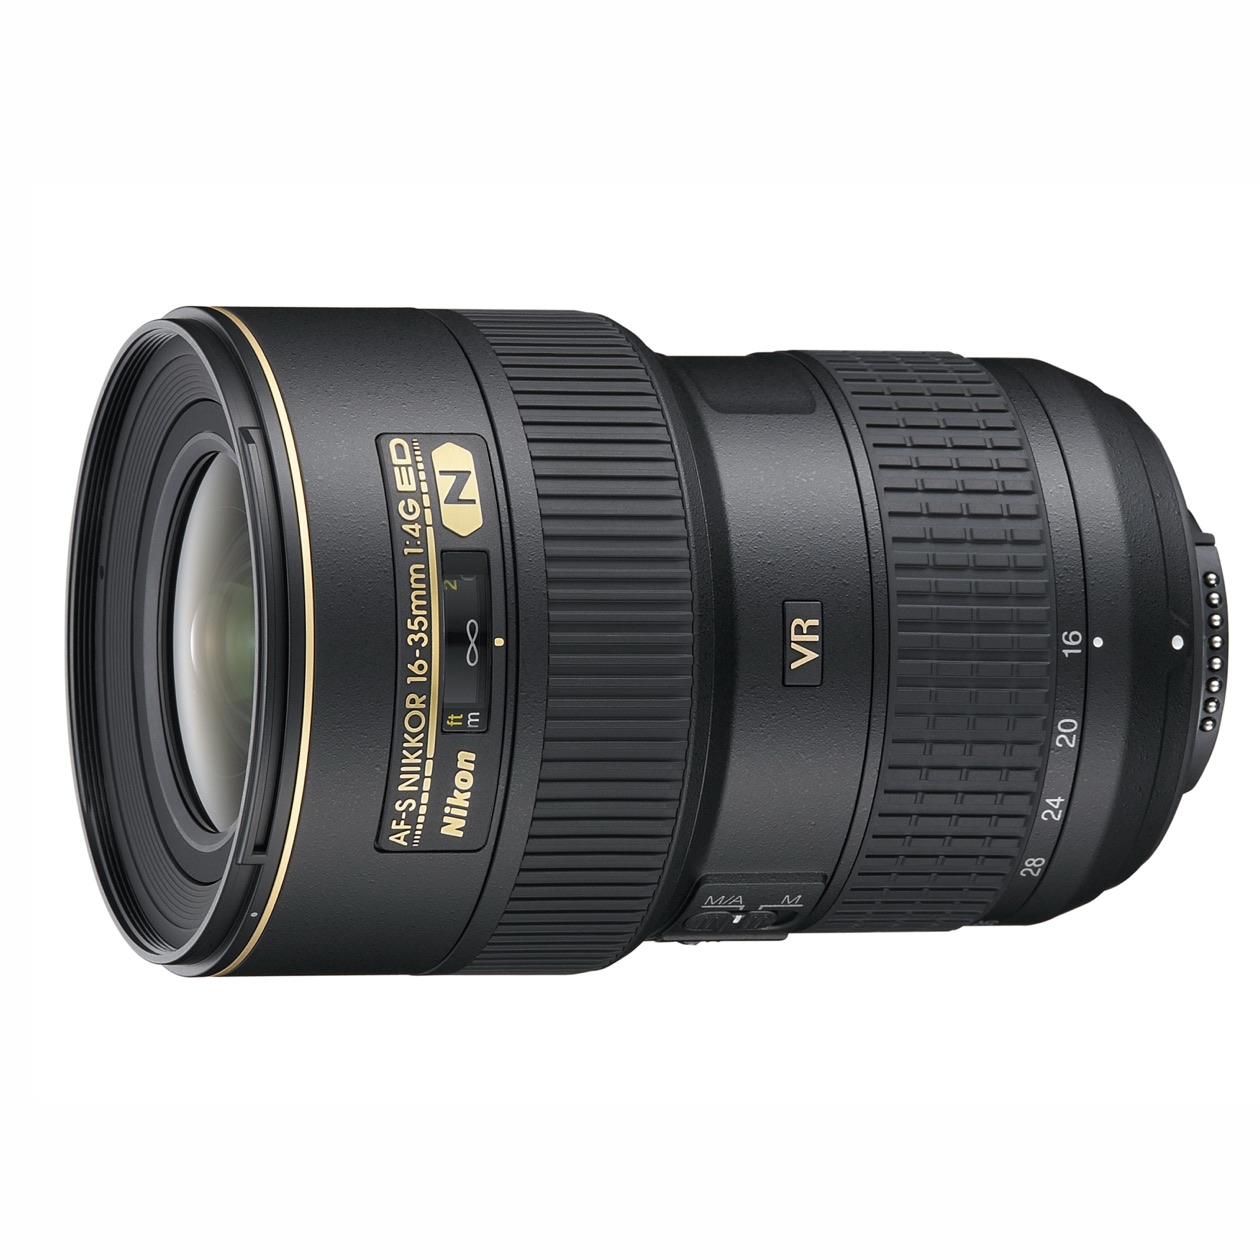
Therefore, if you are using a lens with focal lengths shorter than 35mm for full frame and 28mm for crop, watch for unwanted darkening in the sky. If they appear, just twist the filter in the frame, they will go away.
Watch the sky on wide lenses: below 35mm on full frame or 28mm on crop, a polarizer can darken the sky unevenly, whatever the filter costs. Rotate the filter in its mount until the dark patches go away.
How to use a polarizing filter, step by step
The advice above, in shooting order:
- Find the thread diameter of your lens in its specifications, on the back of the front cap or on the barrel, and choose a filter of the correct diameter.
- Screw the filter onto the threads around the front lens.
- Look at the scene and decide which glare or reflection you want to remove and which to leave and emphasize.
- Turn the rotating ring on the rim while watching the viewfinder or the screen, until the glare you want gone is eliminated.
- With a lens shorter than 35mm on full frame or 28mm on crop, check the sky for uneven darkening and rotate the filter until it goes away.
- Allow for about 2 stops of light loss, and in low light take the filter off instead of shooting handheld with it.
Do you need a polarizing filter?
A polarizing filter is not a must in a photographer’s arsenal. So, for example, a good tripod and the ability to use it are much more important for a beginner landscape or subject photographer, and for a wedding photographer – a portrait lens for staged photo shoots and an external flash for reportage shooting at a banquet. However, a high-quality polarizing filter will expand your creative possibilities and allow you to get a little more expressive shots.
Frequently asked questions
- What does a polarizing filter do?
- A polarizing filter cuts off polarized light, which in photography comes mainly from reflections. That lets you remove glare from glass, water and other glossy non-metallic surfaces. It also makes the picture a little more contrasting and the colors more saturated, darkens a blue sky and makes the contours of clouds stand out.
- What is the difference between a linear and a circular polarizer?
- The main difference is camera compatibility. Both give the same photographic effect, but a linear polarizer (PL) disrupts exposure metering and phase-detection autofocus, so it works only in fully manual mode. A circular polarizer (CPL) adds a quarter-wave plate behind the linear layer and has no negative impact on camera automation. Nearly every polarizer sold today is a CPL.
- How much light does a polarizing filter block?
- A polarizing filter darkens the frame by about 2 stops of exposure. Depending on how much of the light is polarized at the angle you set, the loss ranges from about one to three stops. Auto-exposure cameras compensate by opening the aperture, lengthening the shutter speed or raising the ISO.
- Can a polarizing filter replace an ND filter?
- A polarizing filter can stand in for an ND4 neutral density filter, because both cut about 2 stops of light. That helps when you shoot a fast lens in very bright light and want to avoid overexposure, and when a landscape photographer wants a longer exposure from a tripod.
- Why does a polarizer darken the sky unevenly?
- On ultra-wide-angle lenses a polarizer can darken one part of the sky more than another, and the price or quality of the filter makes no difference, because it is physics. Skylight is most strongly polarized at 90 degrees from the sun, and a wide frame takes in a broad arc of sky. Rotate the filter until the dark patches go away.
- Should you leave a polarizing filter on the lens all the time?
- No. Unlike a protective filter, a polarizer should not stay on the lens permanently, because it darkens the frame by about 2 stops, and in low light that makes handheld shooting with it ineffective. Fit it when there is glare to remove, haze to cut or a sky to darken, and take it off afterwards.
Sources
- Поляризационный светофильтр. Что это такое и как им пользоваться?, Konstantin Voronov, Prophotos.ru (2020)
- Polarizing filter (photography), Wikipedia (2026)
- How Circular Polarizers Work, Hoya Filters (2026)
- Neutral-density filter, Wikipedia (2026)
- Photographic filter, Wikipedia (2026)