What is an ND filter and how to use one
by Konstantin Voronov, translated by Piotr · Accessories, Photography Tips
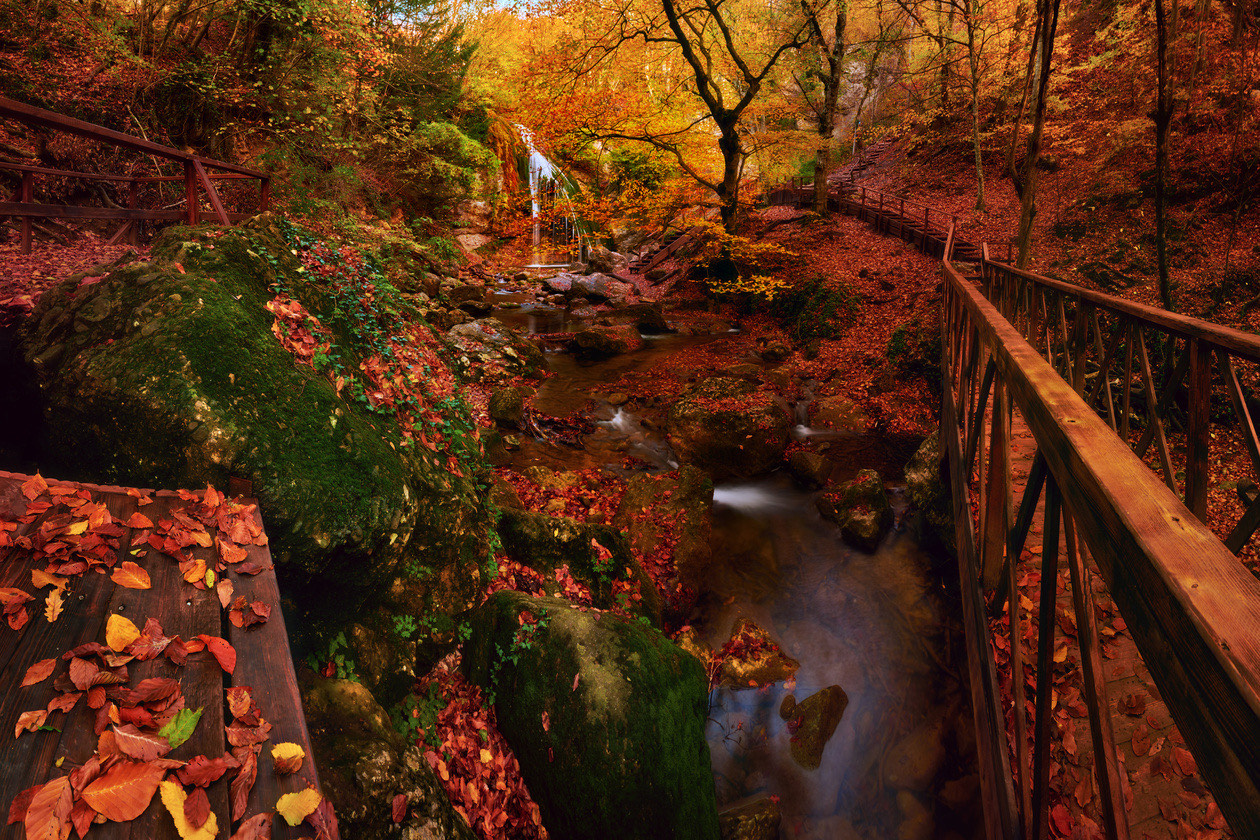
In short: An ND (neutral density) filter is high-quality darkened glass that cuts the light entering the lens without changing colors. It lets you use longer shutter speeds or a wider aperture in bright light: an ND8 lengthens exposure by 3 stops, an ND1000 by 10 stops.
When the light is too bright
Shooting at a fast shutter speed is convenient: there is no blur from camera shake when you hand-hold, and you can "freeze" fast movement in the frame. But there are times when the shutter speed has to be lengthened, and that is impossible because the light is too bright. Let us look at two situations as examples.
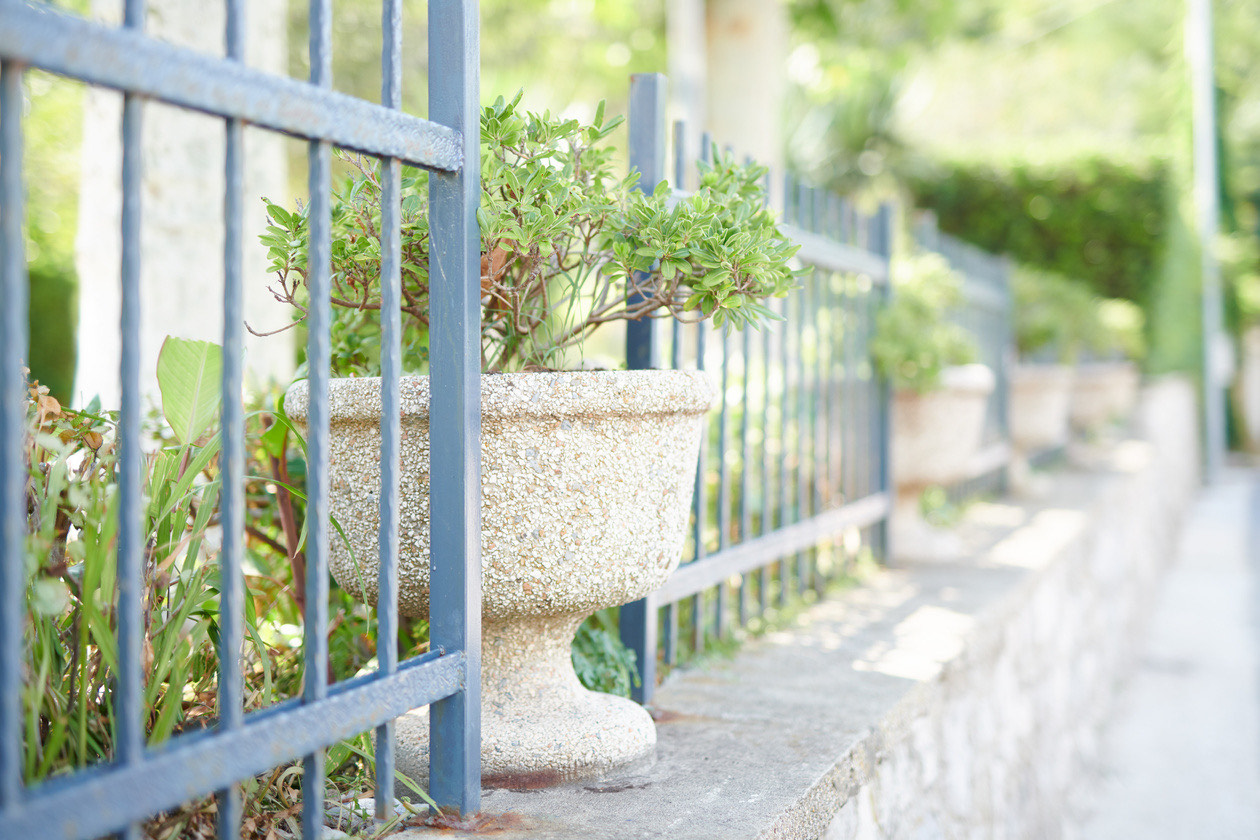
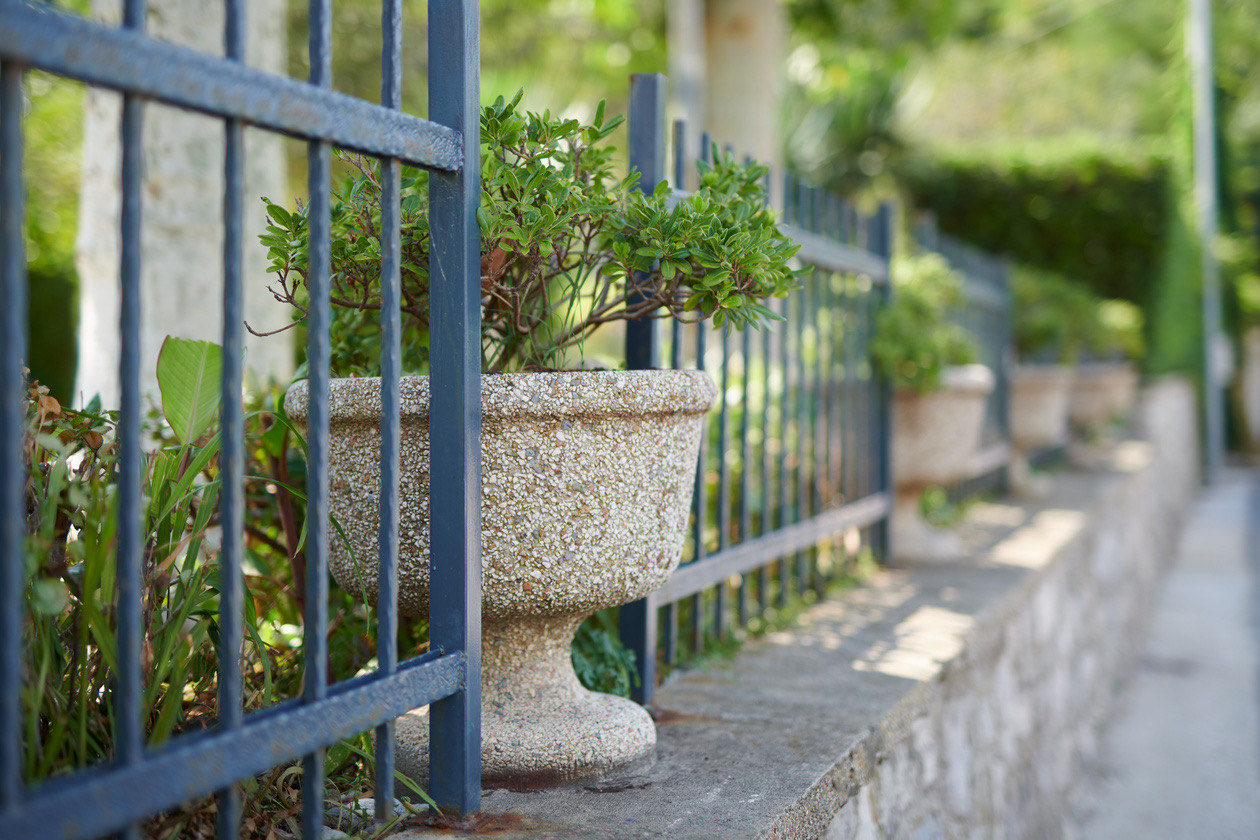
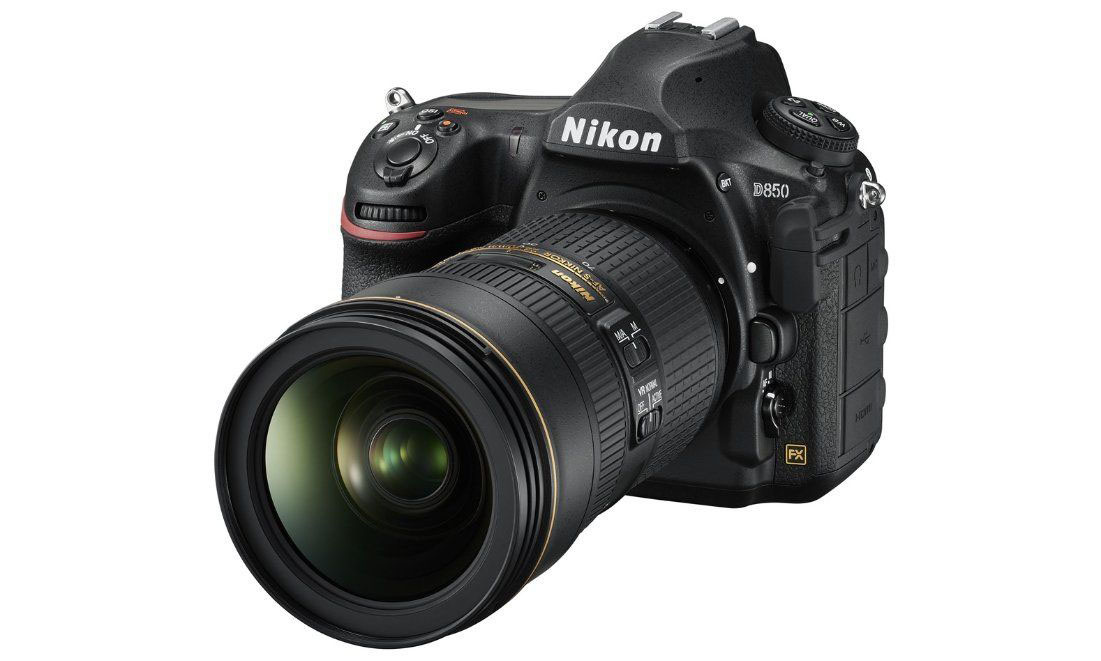
Say you are shooting on a sunny day with a fast prime lens, for example the Nikon AF-S 50mm f/1.4G Nikkor. And you specifically want to shoot wide open to get the most blurred background and beautiful bokeh. But even at the fastest shutter speed your camera offers (1/8000 s or 1/4000 s) and the lowest ISO, the frame still comes out overexposed. You need a way to limit the light coming in so that you can shoot at longer shutter speeds without overexposure. The same problem comes up in the studio with strobes: very few flash units let you turn their power down far enough to work wide open.
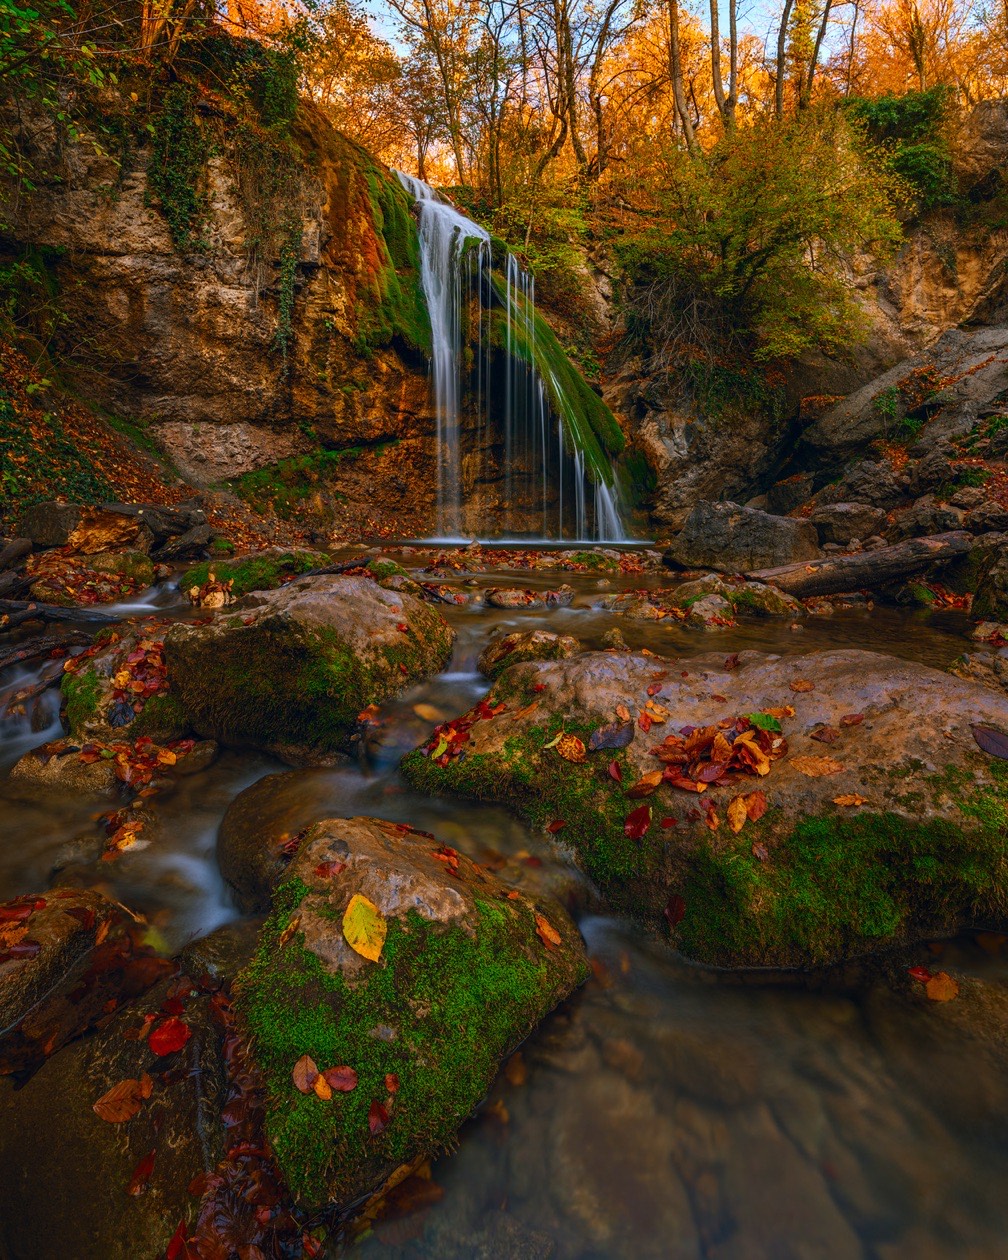
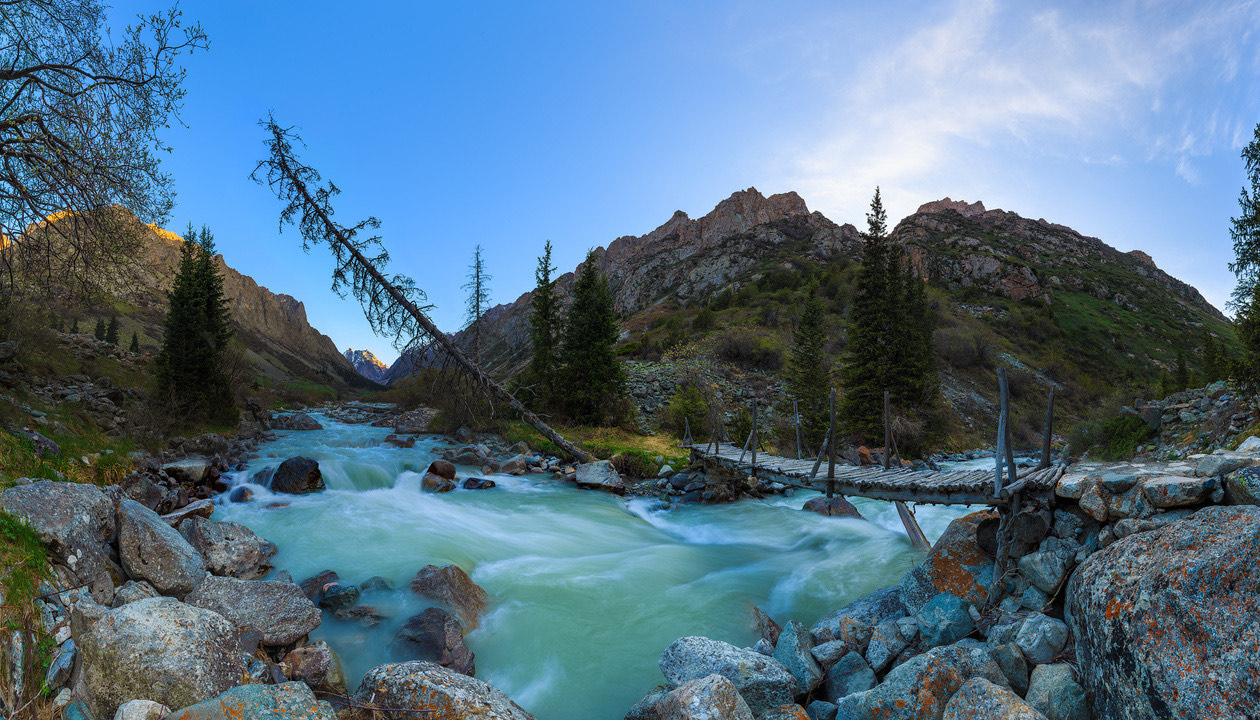
Or suppose you want a motion-blur effect, for example when shooting landscapes or street scenes, which looks quite interesting. You can blur anything, from the sea surf and mountain waterfalls to people walking. So, to make the shutter speed as long as possible, you have stopped the aperture all the way down (say, to F22) and turned ISO down to the minimum, but the shutter speed still is not long enough.
What is an ND filter
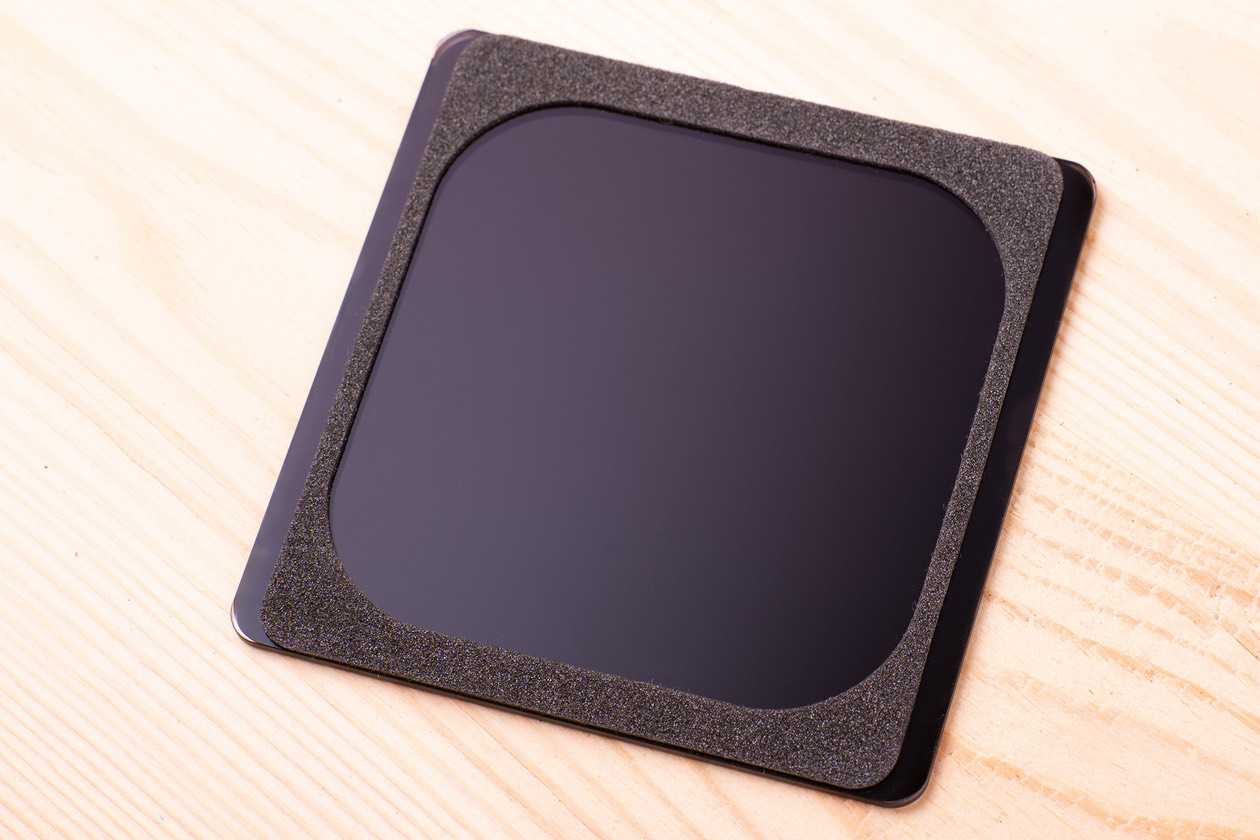
So what do you do in these situations? Neutral density filters, or ND filters, were created to solve them. Essentially, this is simply darkened glass that goes on the lens. This class of filters is called neutral density because they should not introduce any distortion into the color rendering of our pictures. Still, this is very high-quality darkened glass, unlike the ordinary kind.
Screw-in and square system filters
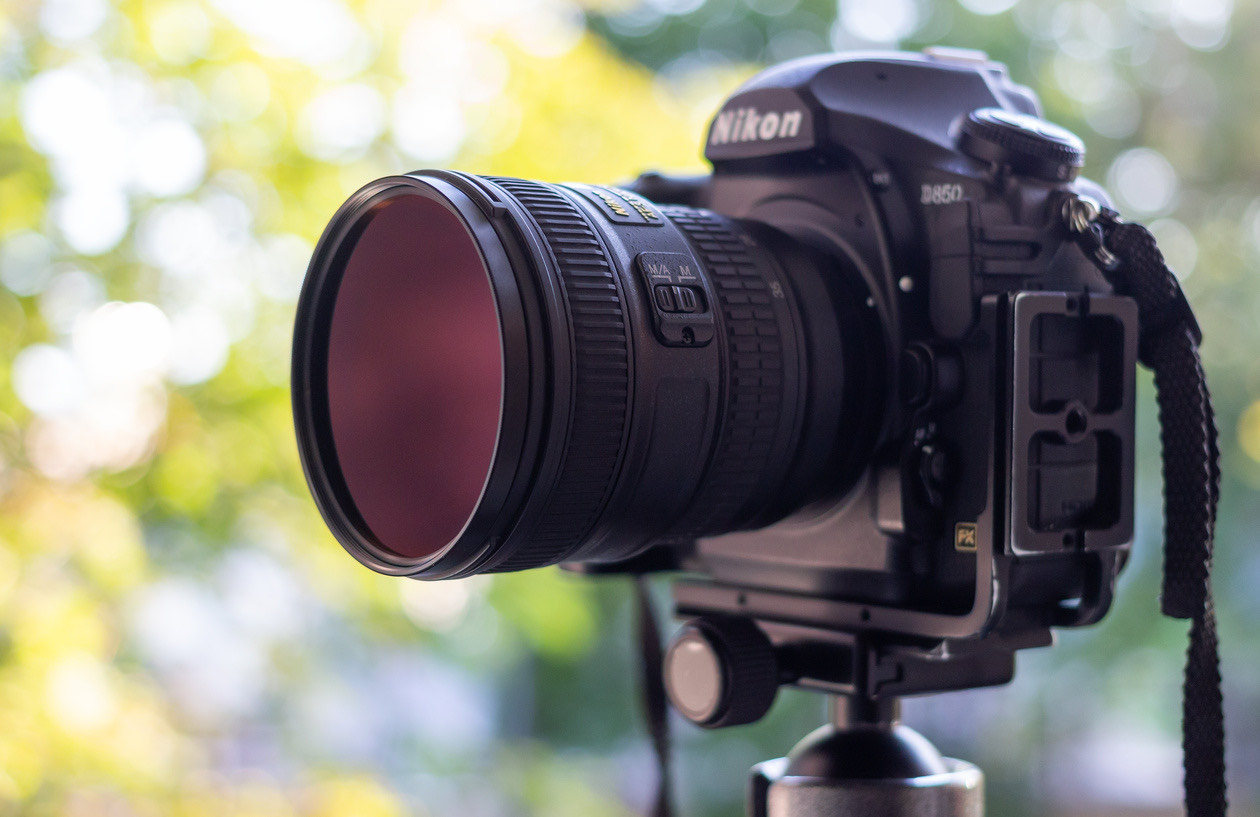
ND filters come in different form factors. Let us look at the two main ones. The most familiar type is the ordinary round screw-in filter that threads onto the lens. The main thing here is to choose a filter that matches your lens's filter thread diameter.
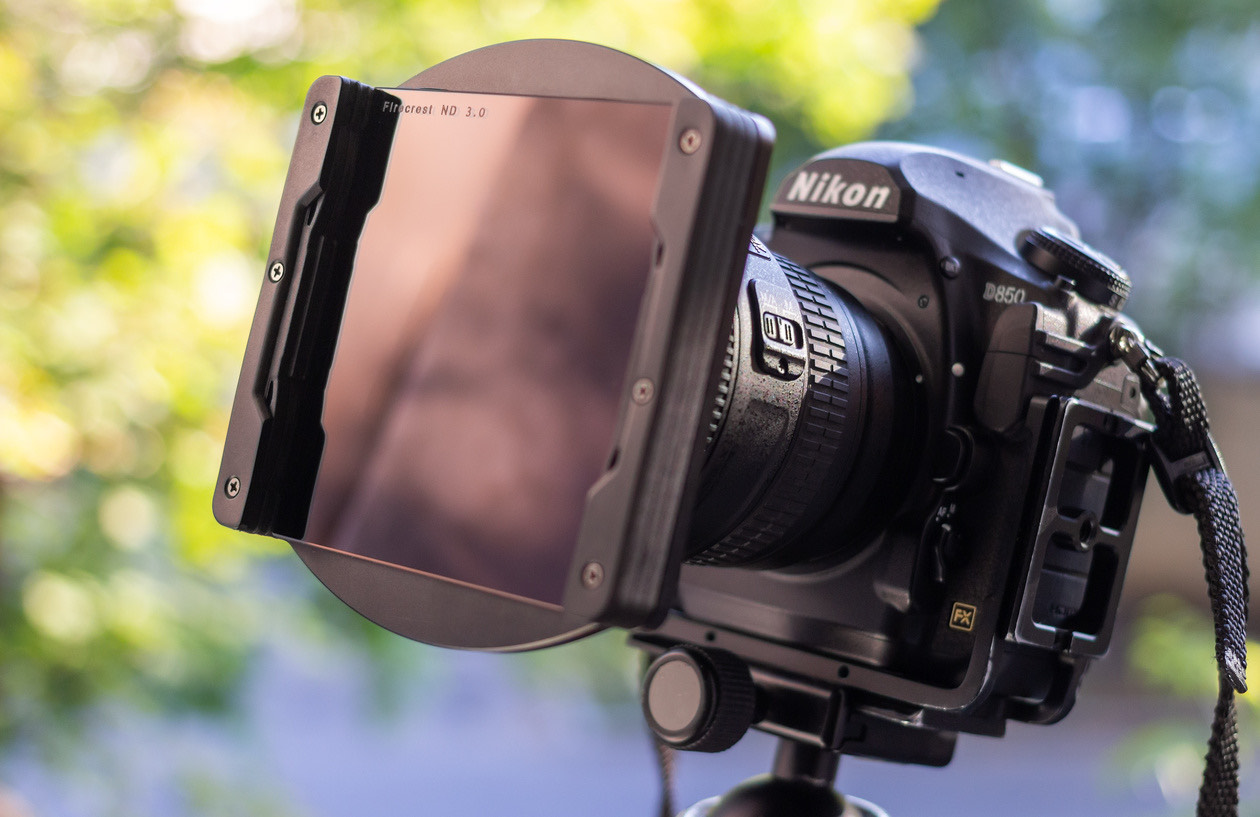
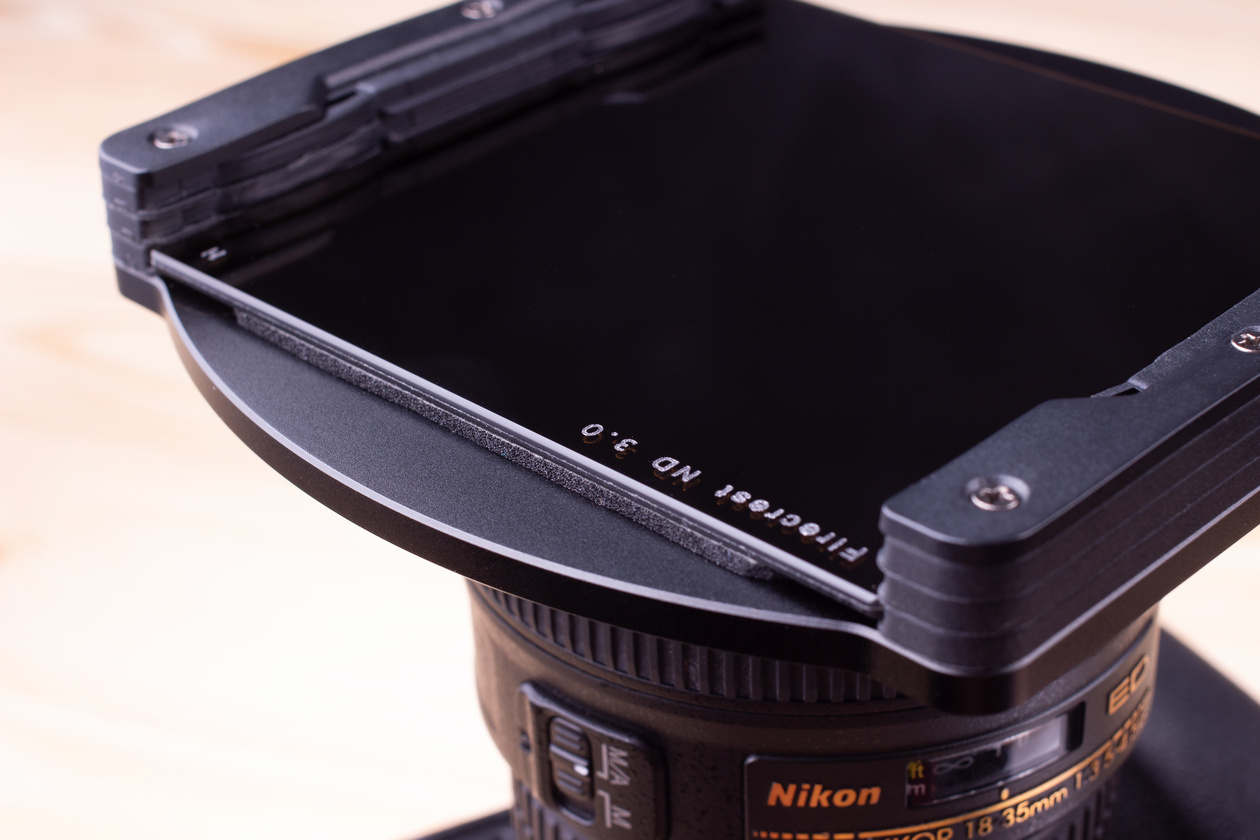
The second type is the rectangular system filter. The idea is that, thanks to a special filter holder, the photographer can slot in whatever filters the job requires. This system was created primarily for graduated filters, which are meant to even out exposure in landscape shots and keep the sky from blowing out. But solid ND filters can be used in it just as freely. The strength of this system is its versatility: you do not have to buy new filters if you switch to a new lens with a different thread diameter. The most common size for rectangular system filters is 100 mm wide and 2 mm thick. There are plenty of filters and holders in this format on the market, while filters of other kinds are almost exotic.
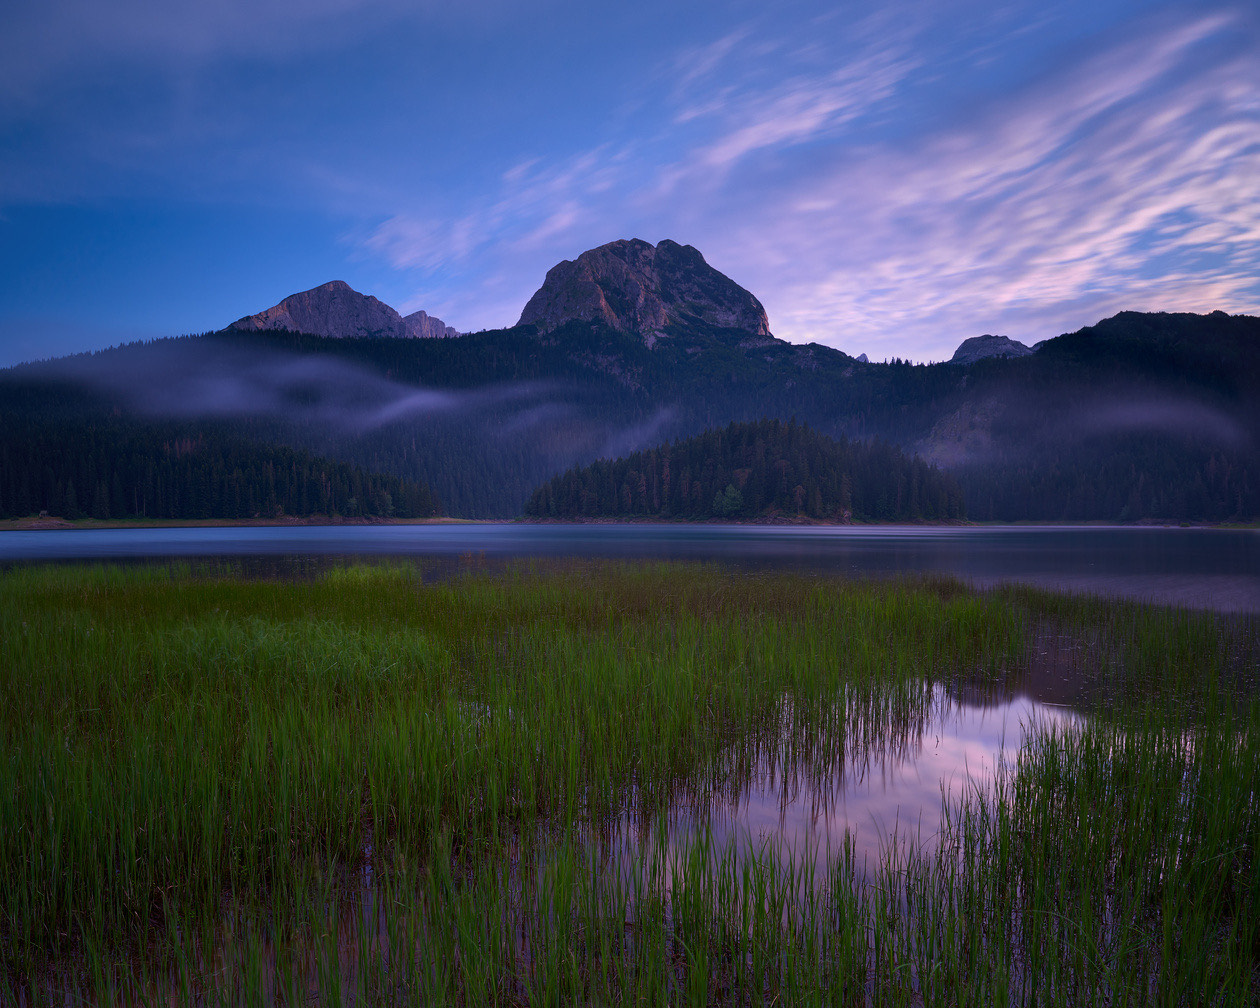
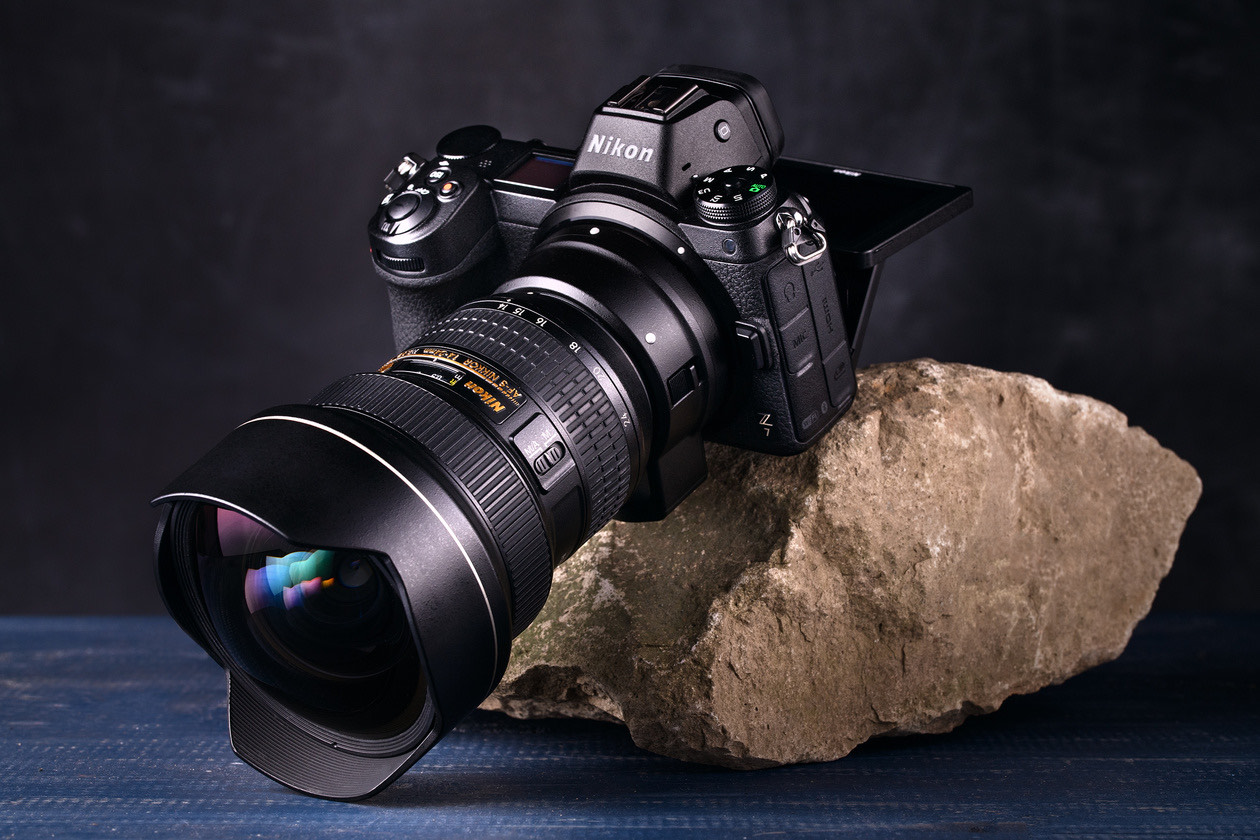
For wide-angle lenses with bulging front elements that do not accept ordinary screw-in filters (one example is the Nikon AF-S NIKKOR 14-24mm f/2.8G ED), there are system filters 150–165 mm wide and special adapters for specific lens models. Unfortunately, these systems are expensive, and they are also too bulky to use and carry.
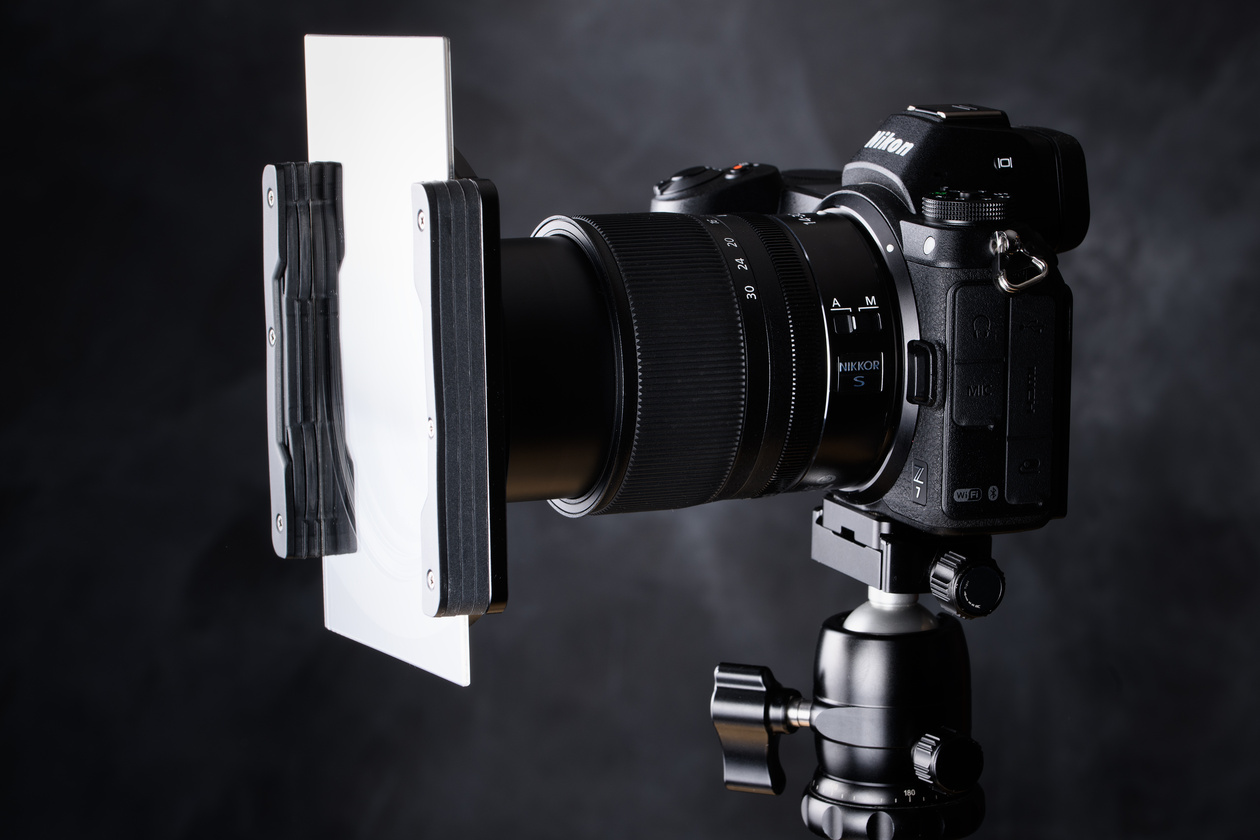
At the same time, for lenses with smaller front elements, 100 mm filters are quite enough. For example, the Nikon Z mirrorless lens lineup includes the Nikkor Z 14-30mm F/4 S. It is the first full-frame lens with a 14 mm focal length that accepts ordinary 82 mm screw-in filters, and it also works with 100 mm system filters without darkening at the edges. Being able to use relatively inexpensive and compact 82 mm round and 100 mm system filters is the most important practical advantage of this lens!
| Form factor | How it mounts | Strengths | Limits |
|---|---|---|---|
| Round screw-in | Threads onto the lens; match the lens's filter thread diameter | The most familiar type; compact | A lens with a different thread diameter needs its own filters |
| 100 mm system filter (2 mm thick) | Slots into a filter holder, alongside graduated filters | The most common system size; one set fits lenses with different thread diameters; one company's holder works with another company's filters | Enough for lenses with smaller front elements; wide-angle lenses with bulging front elements need the 150–165 mm size |
| 150–165 mm system filter | Holder plus an adapter for a specific lens model | Fits wide-angle lenses with bulging front elements, such as the Nikon AF-S NIKKOR 14-24mm f/2.8G ED | Expensive, and bulky to use and carry |
ND filter density: ND8, ND64, ND1000 and beyond
Whichever filter form factor you choose, they work the same way. All ND filters differ in their density, that is, how much they darken. Different labeling systems describing ND filter density are used around the world.
| EV stops | Optical density | Reduction factor | Light passed, % |
|---|---|---|---|
| 1 | 0.3 | 2 | 50 |
| 2 | 0.6 | 4 | 25 |
| 3 | 0.9 | 8 | 12.5 |
| 4 | 1.2 | 16 | 6.25 |
| 5 | 1.5 | 32 | 3.125 |
| 6 | 1.8 | 64 | 1.563 |
| 7 | 2.1 | 128 | 0.781 |
| 8 | 2.4 | 256 | 0.391 |
| 9 | 2.7 | 512 (ND500) | 0.1955 |
| 10 | 3.0 | 1024 (ND1000) | 0.09775 |
| 11 | 3.3 | 2048 (ND2000) | 0.048875 |
| 12 | 3.6 | 4096 (ND4000) | 0.0244375 |
ND filter density is described by how many times the filter reduces the light passing through it. This is the most widely used scale. Its values are usually what follows the ND marking: ND2, ND4, ND16… And if, say, you shot with an ND8 filter, it means your filter lengthened the exposure by 3 stops. Note that starting at a density of ND512, the values given in the marking on the filter start to be rounded. So an ND1000 filter actually reduces the light by a factor of 1024. In the table we give both the actual value and (in parentheses) the rounded value that will be printed on the filter itself.
An alternative measurement scale is the traditional optical density scale. You are more likely to see it on system filter plates, but hardly anyone uses it as their main scale in practice. We have included it for completeness. On this scale an ND8 filter has a density of 0.9 units, and ND1000 has 3 units. The table also gives the share of light, in percent, that passes through each filter. Look how little light gets through the densest ND filters! Less than one percent!
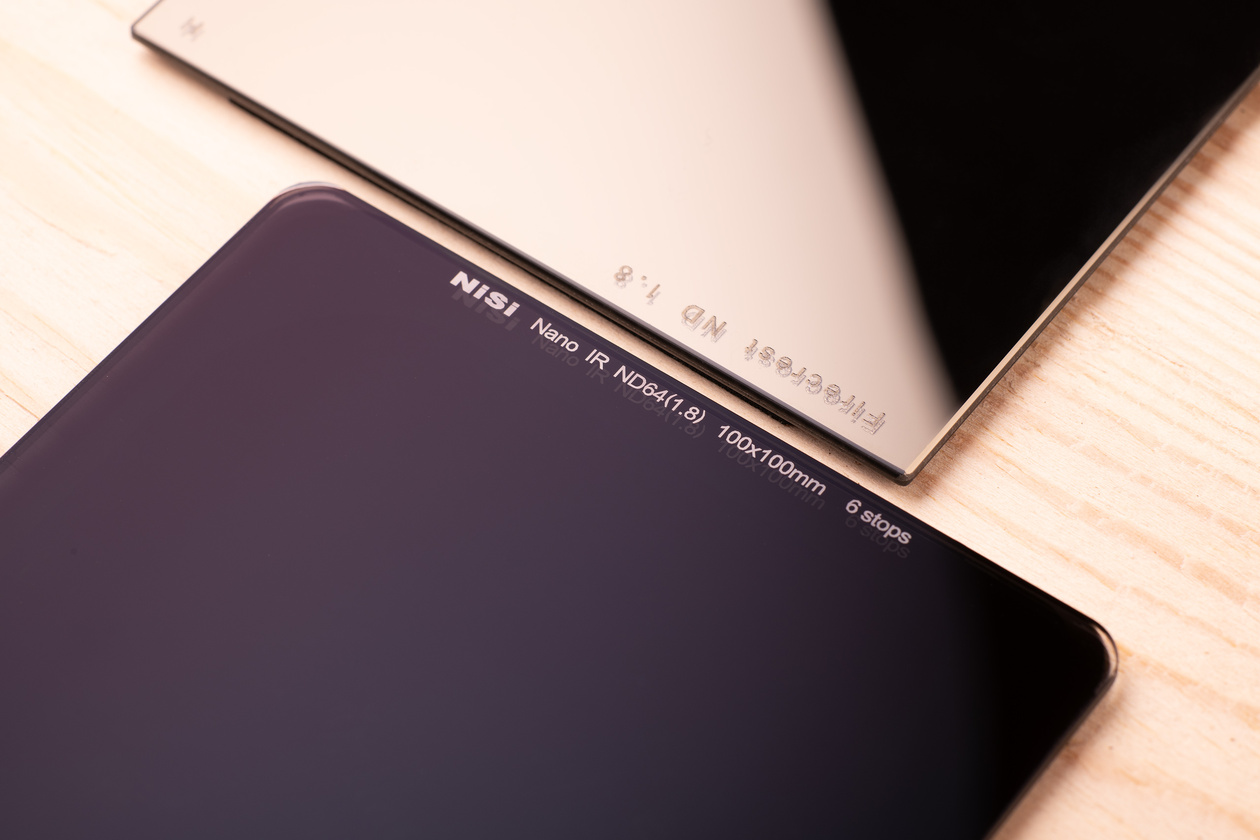
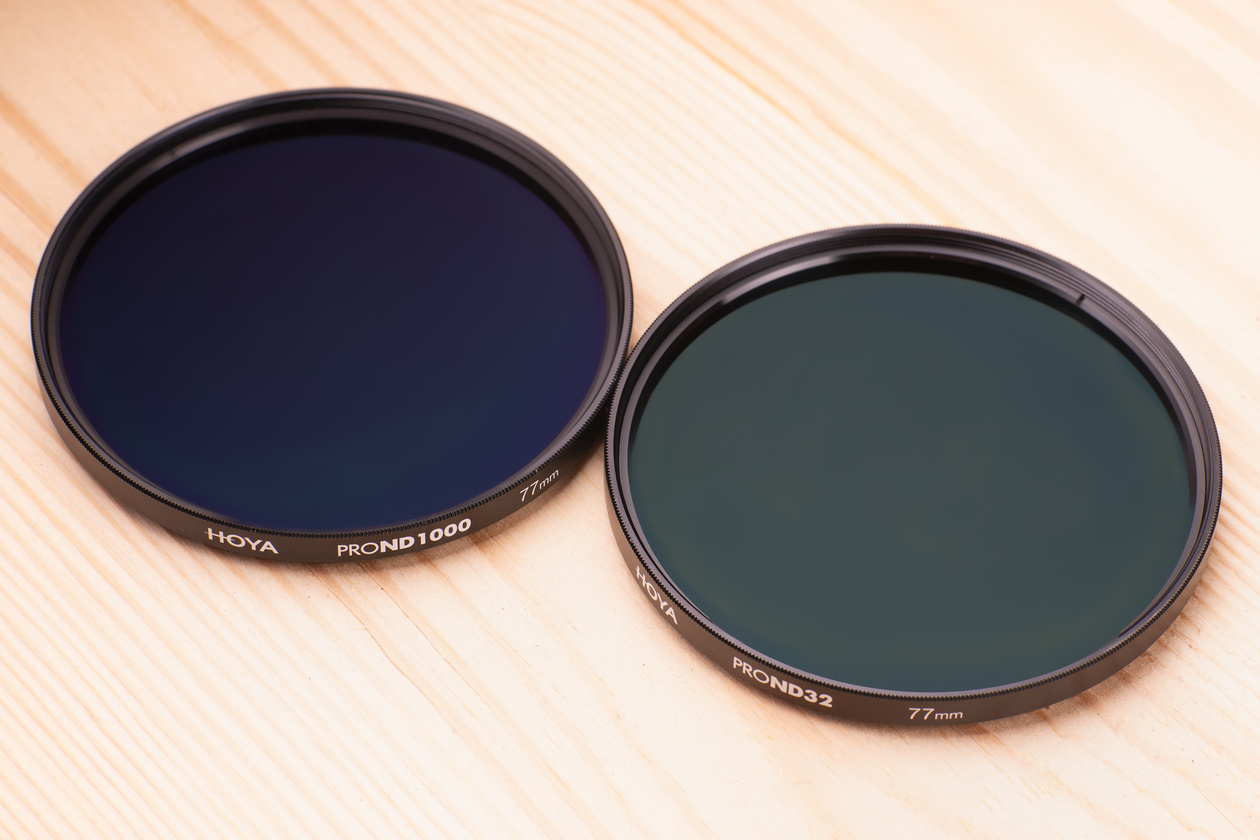
Incidentally, a number of manufacturers do not stop at ND1000 and make far denser filters. There are filters on the market that will give you multi-hour exposures even on a bright sunny day, for example ND32000 (15 EV) and ND16777216 (24 EV). For a manufacturer, making a neutral filter this dark that still has good resolving power is something of an achievement, so filters this dense are found only in the lineups of the most advanced brands.
A polarizer as an ND substitute
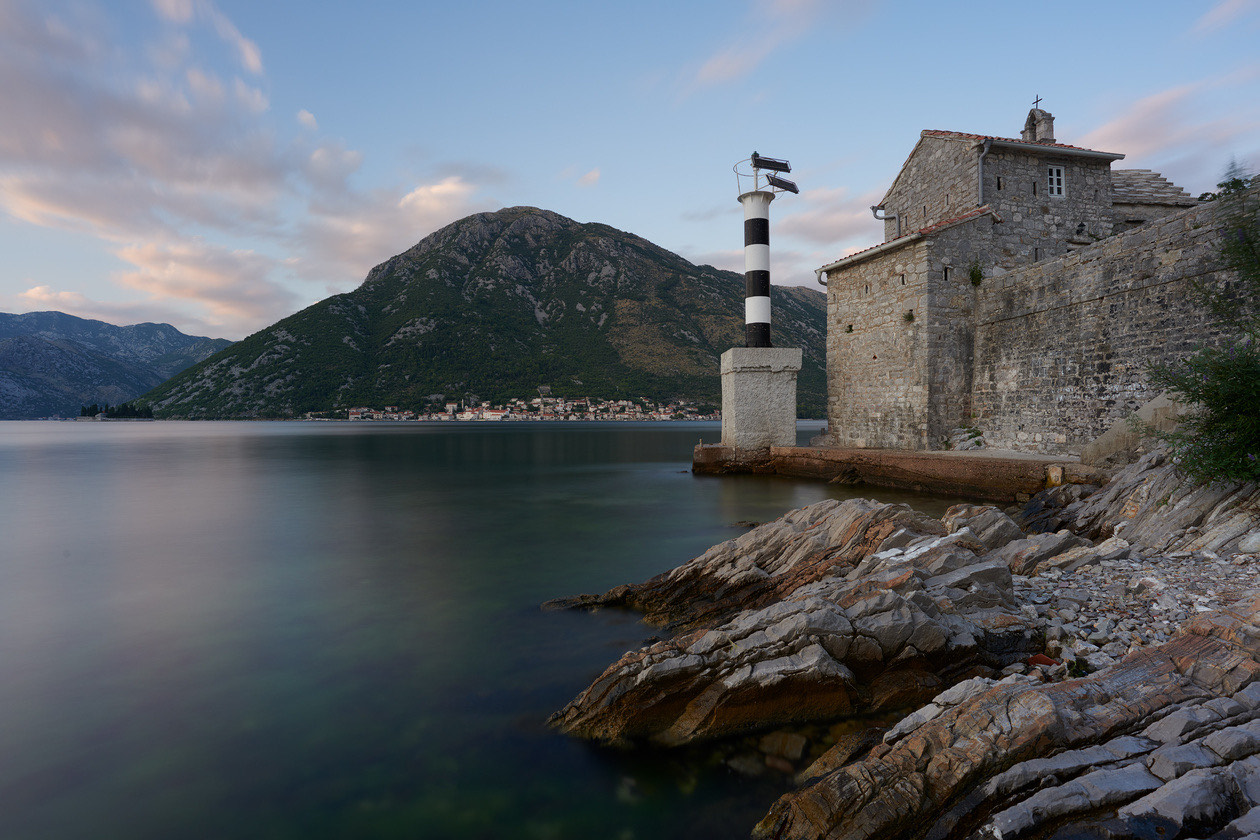
A polarizing filter can be used as a substitute for an ND filter. Any polarizing filter "eats" about two stops of exposure, which means it is equivalent to an ND4 filter. When shooting with fast lenses in bright light, a polarizer may even be preferable, because it will help remove unwanted reflections from the image, which portrait sessions in the city can call for. Incidentally, high-quality polarizing filters are made under the Nikon brand.
How to choose an ND filter
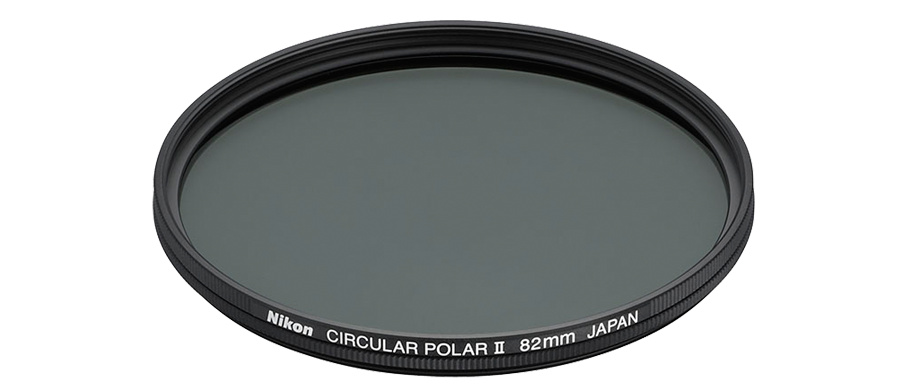
Which ND filter should you choose? As for the brand, the main thing to understand is that a good filter will not be cheap. Inexpensive filters from Chinese online marketplaces noticeably distort colors, darken unevenly and reduce the detail in the image. So if you are going to pick an ND filter, pick one from a well-known brand with a good reputation. There are plenty of them on the market: Hoya, Formatt Hitech, B+W, Marumi. System filters made of optical glass are sold under the Formatt Hitech, Nisi and Haida brands. Plastic ones (they cost less, but their optical properties are also lower) are made by Lee and Cokin. Note that with 100 mm wide, 2 mm thick system filters you can combine one company's holder with another company's filters, since the filters themselves are standard.
Worth knowing: In the author's experience, a good ND filter will not be cheap: inexpensive filters from Chinese online marketplaces noticeably distort colors, darken unevenly and reduce image detail, so pick one from a well-known brand with a good reputation.
Which density to choose
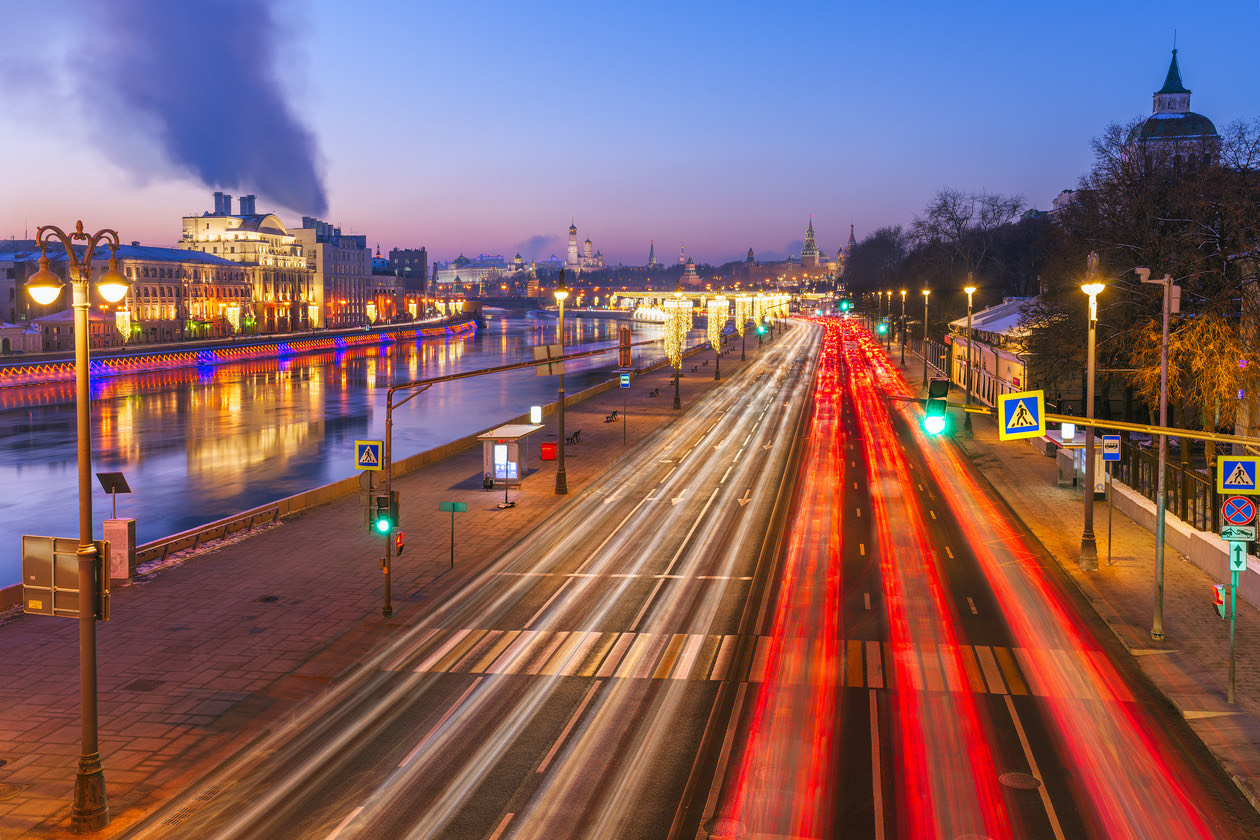
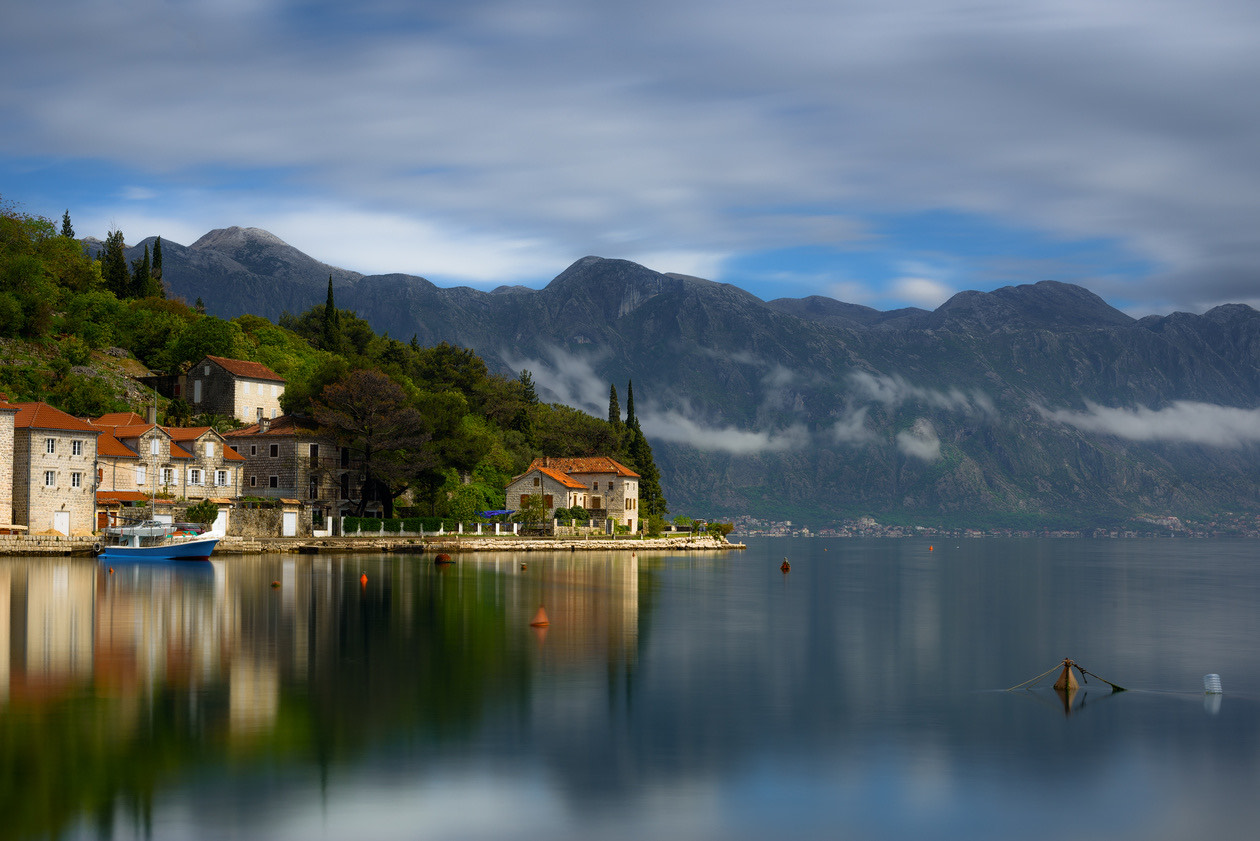
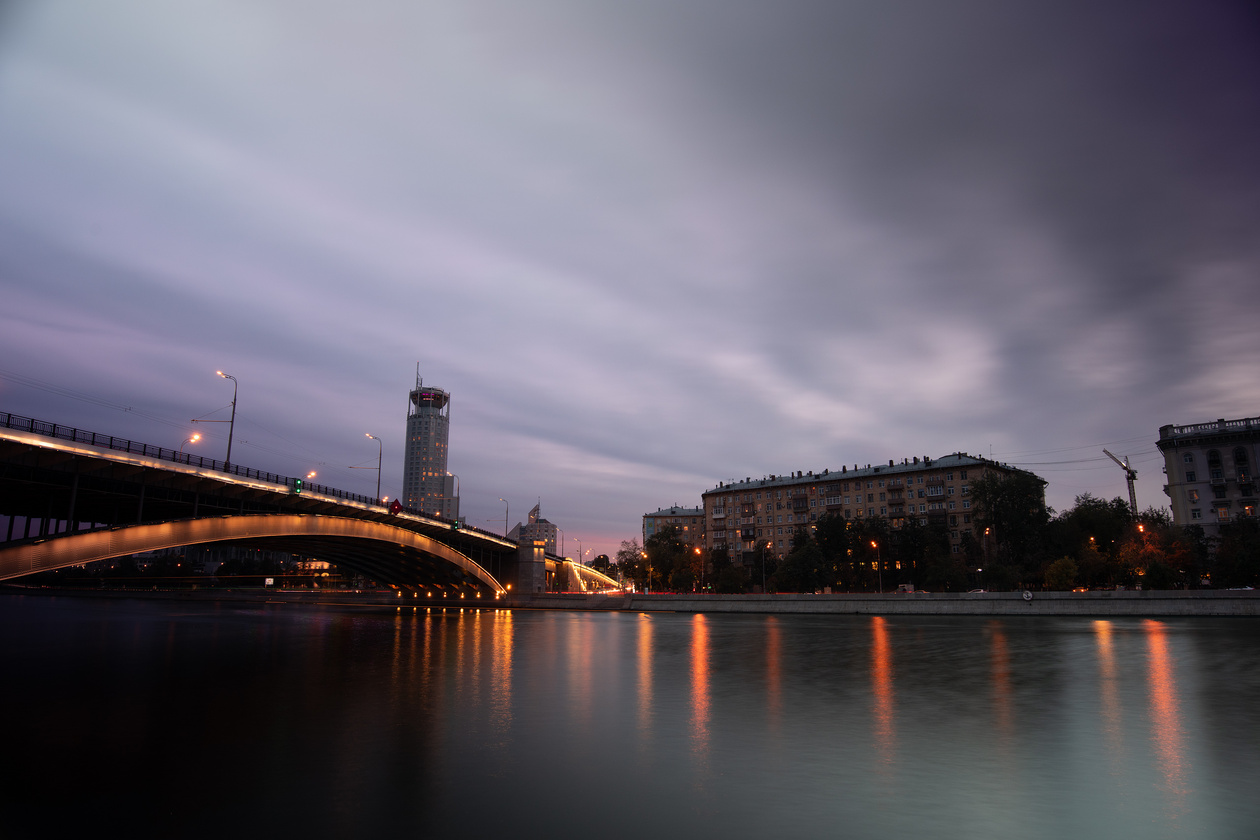
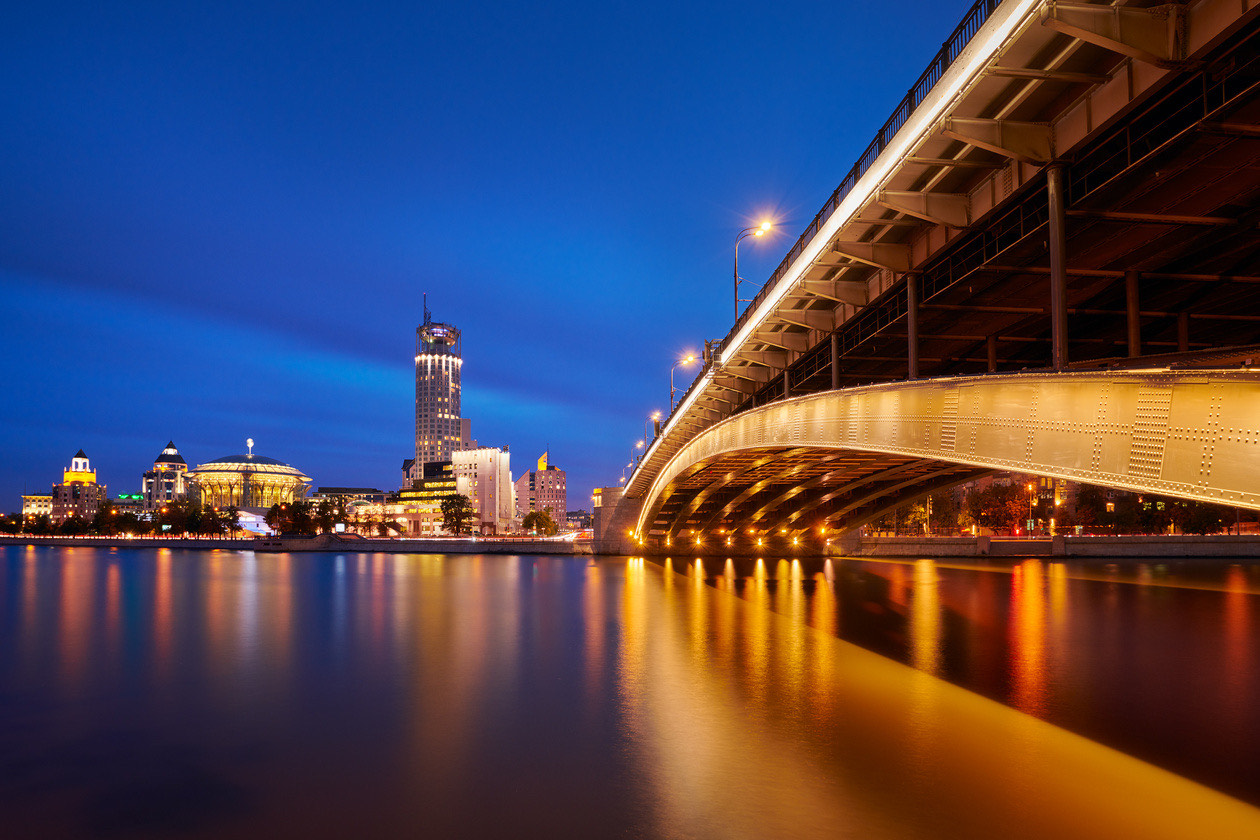
Which density should you choose? There is no universal answer. But probably the most in-demand filter will be an ND8 filter. It will, for example, let you shoot the city in the evening at shutter speeds of around 30 seconds, getting striking blurred light trails from moving traffic. The same filter will let you shoot with fast lenses in blinding sunlight without getting frames that are too bright. For example, if your shutter speed without the filter was 1/8000 s, with an ND8 filter you will get the same image brightness at 1/1000 s.
It will also let you use shutter speeds of around ½ s when photographing waterfalls in daylight. At shutter speeds of about ⅕ to 1 s, the water in a rushing stream does not yet turn into "milk" and keeps a pleasant texture.
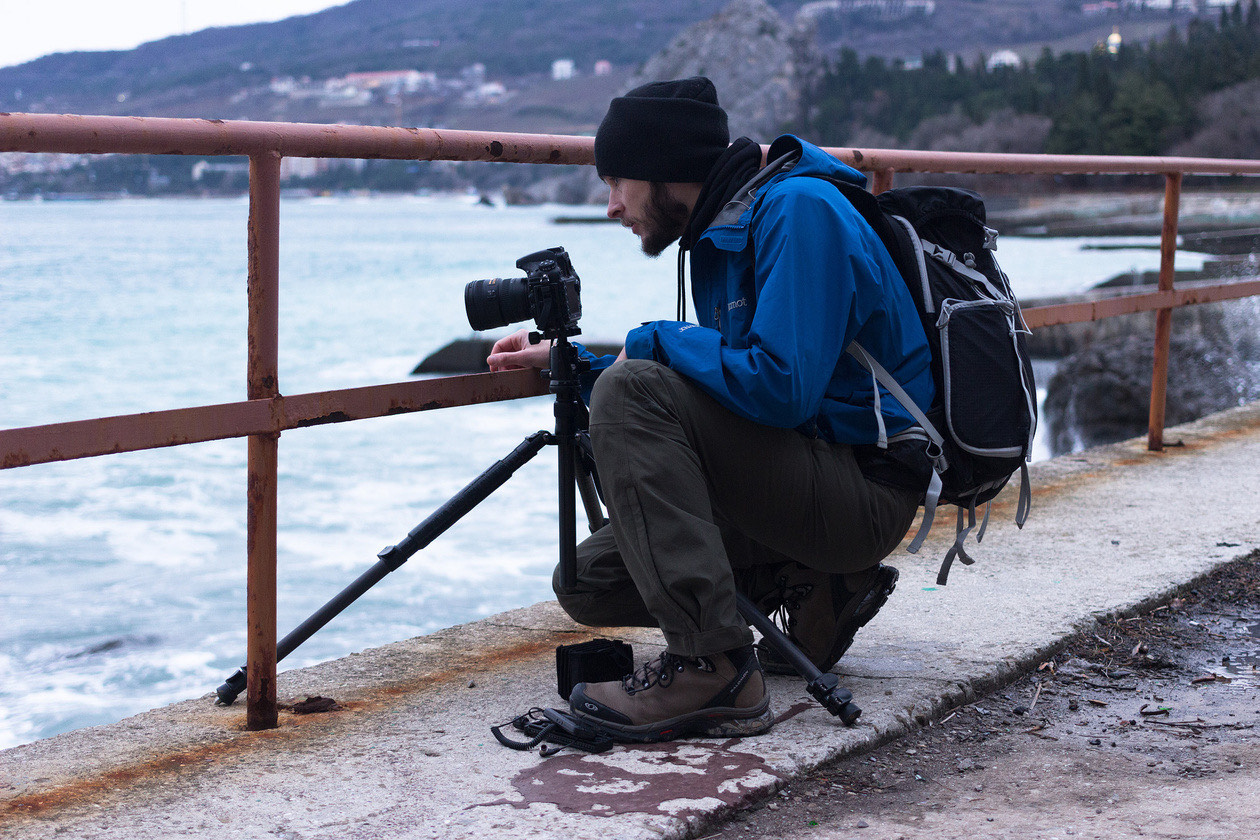
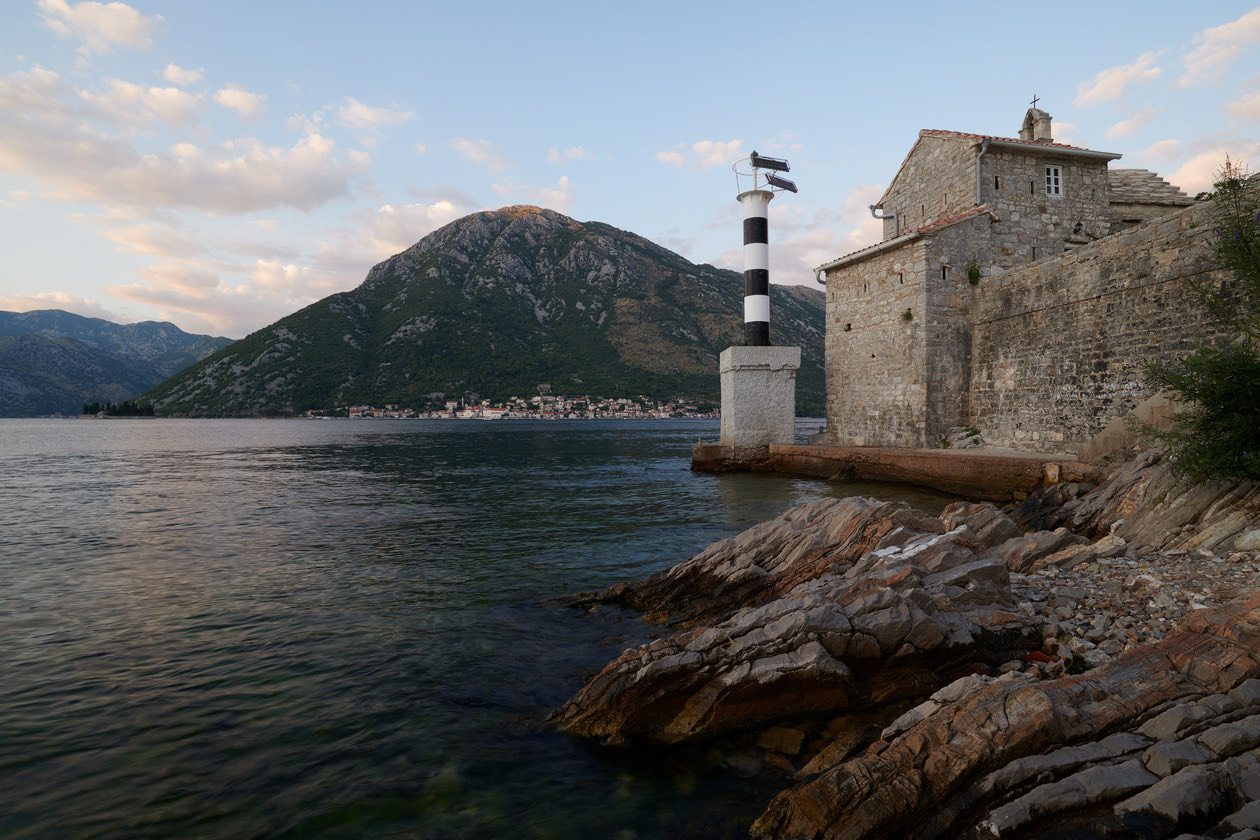
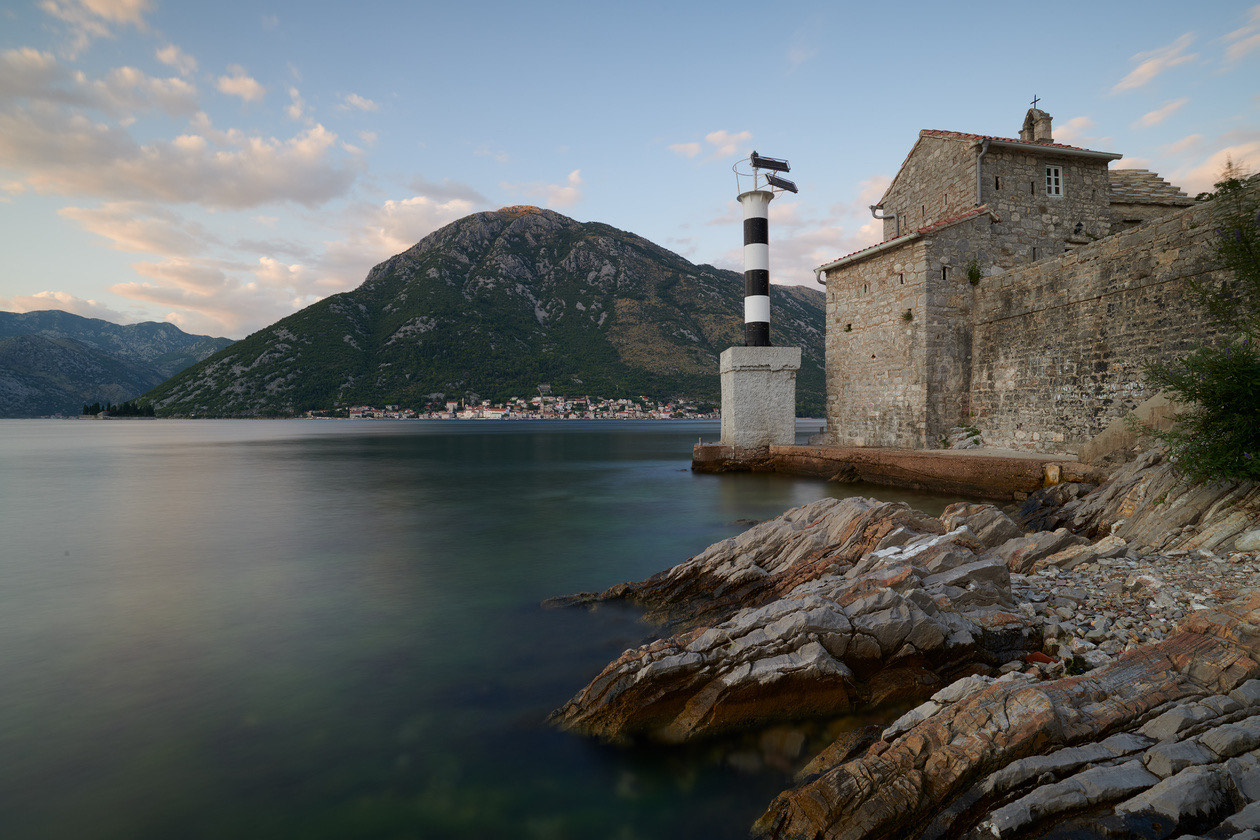
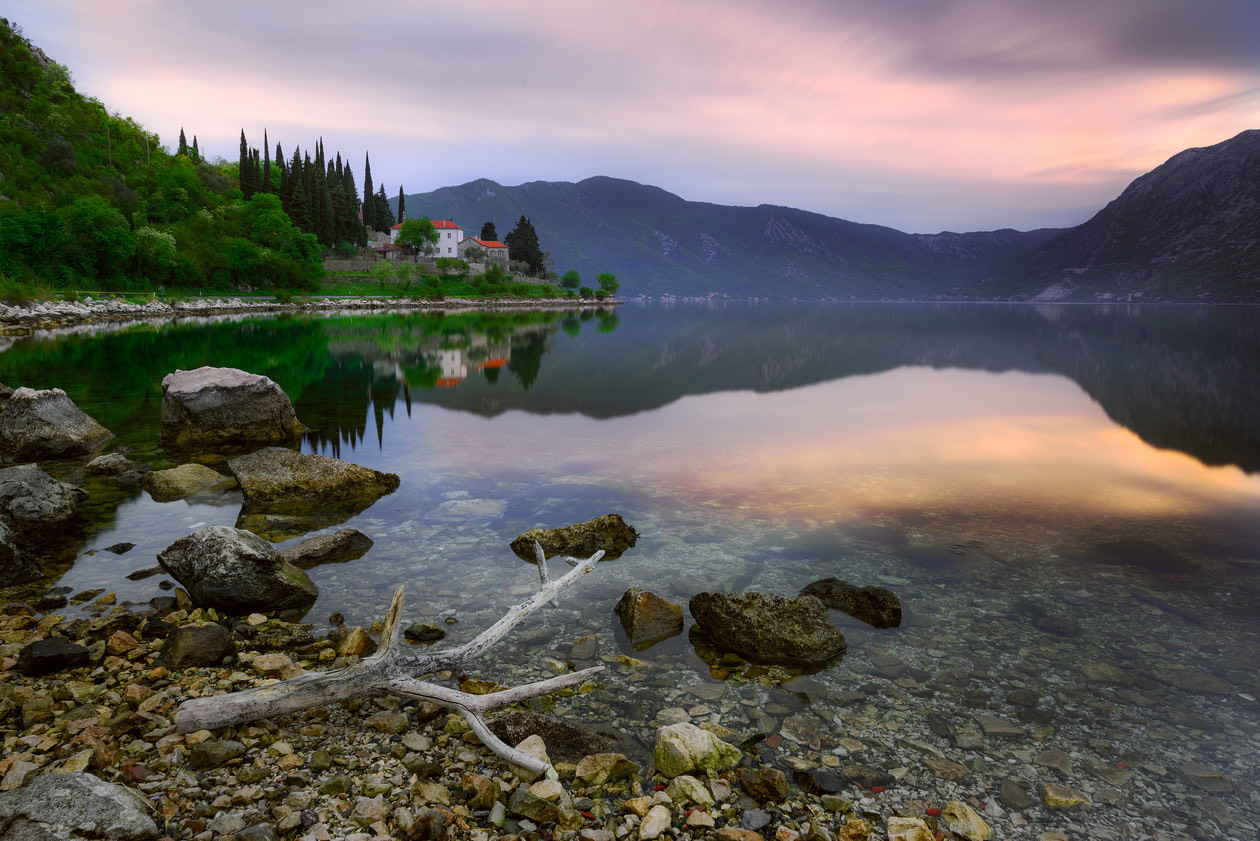
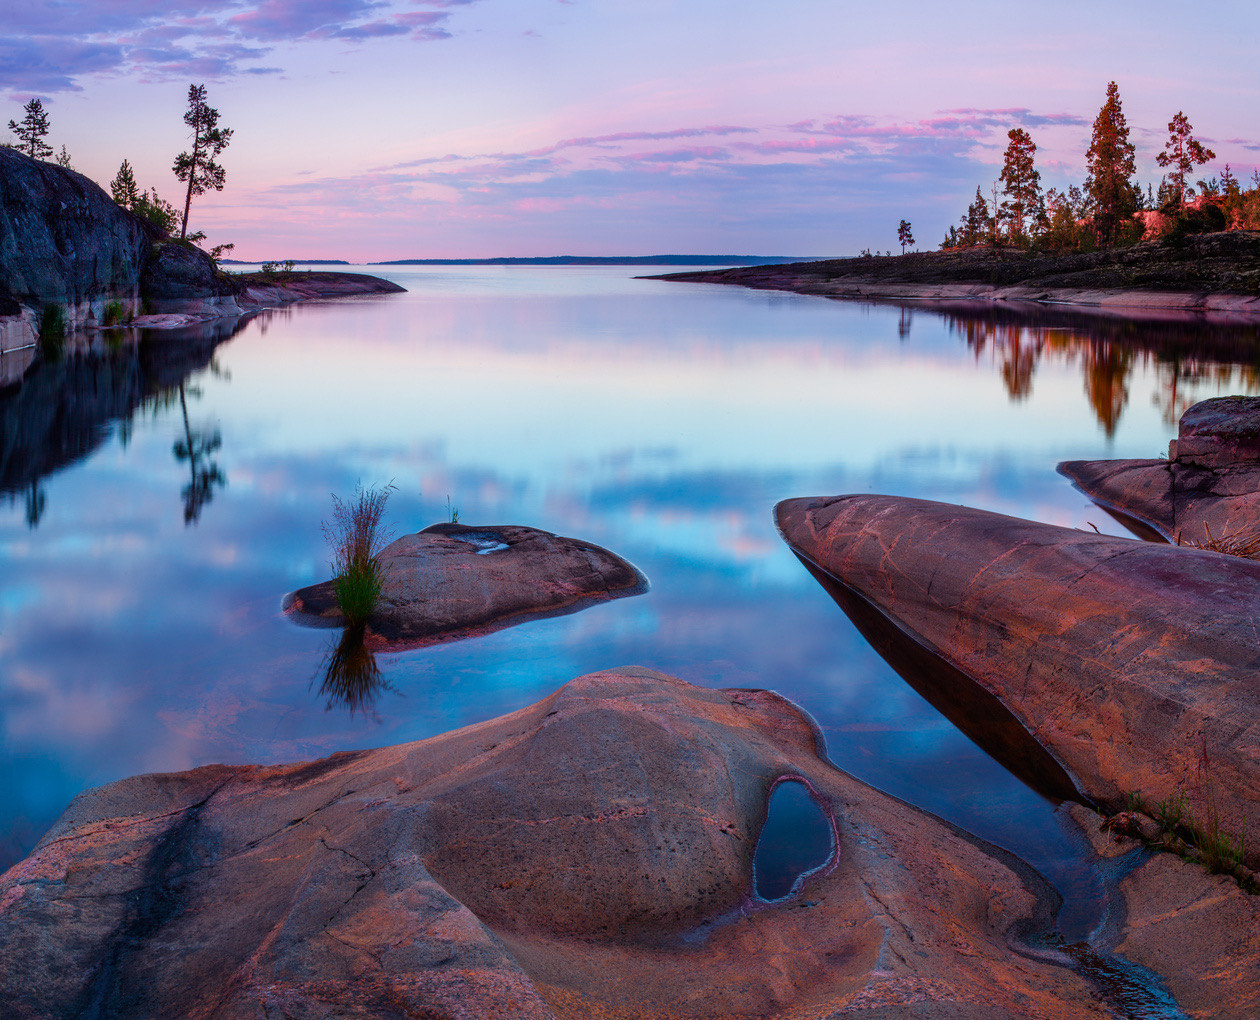
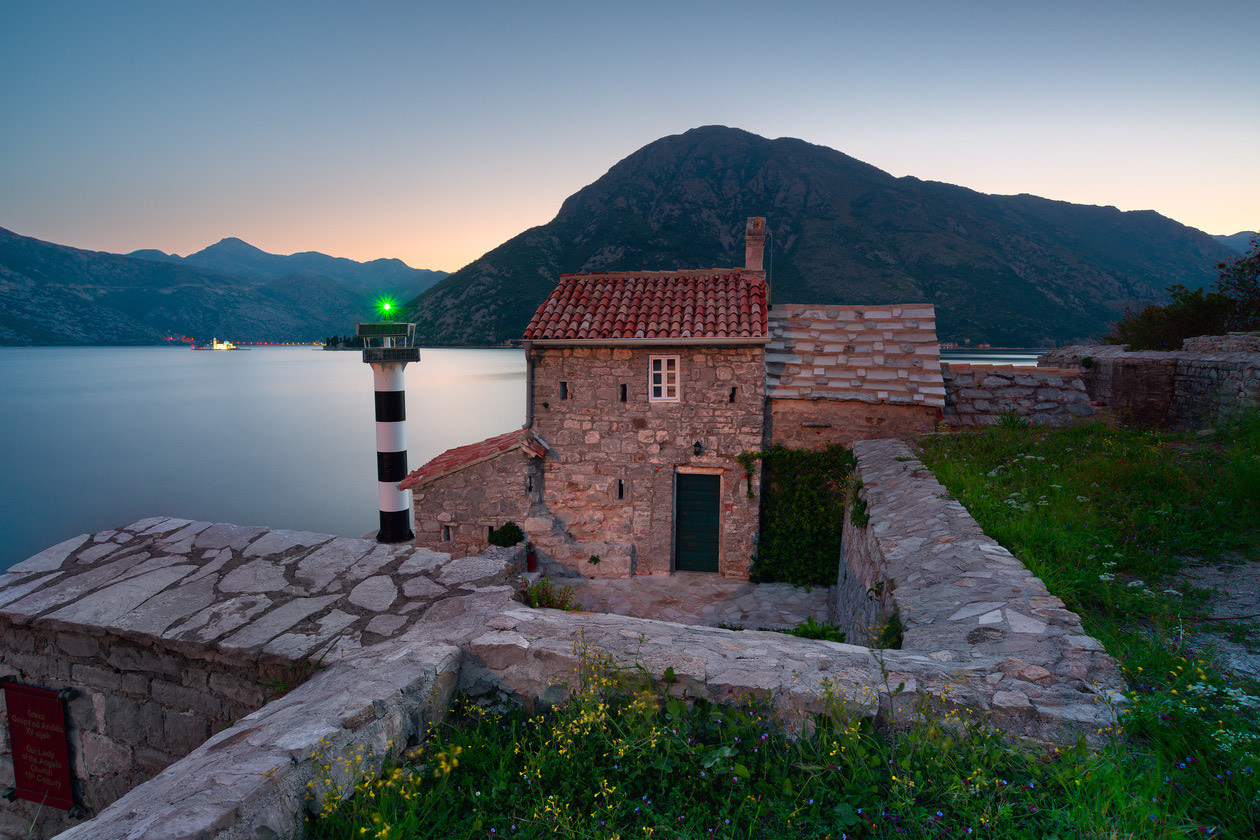
ND64 filters will let you shoot at shutter speeds of around 30–60 s during the golden and blue hours. This is useful, for example, for photographing still water surfaces and moving clouds.
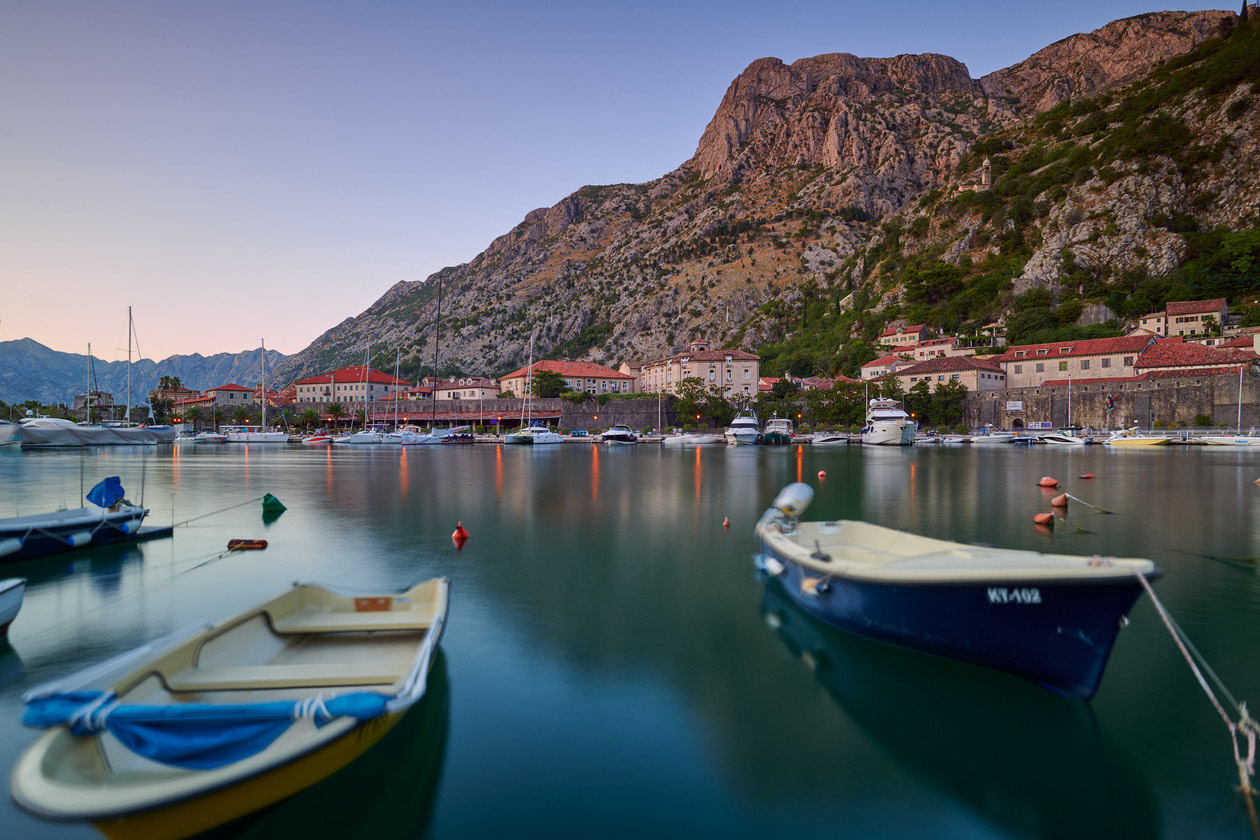
The ND1000 filter lengthens exposure to an extreme degree. With it, shutter speeds will be around 30 s at bright midday and about 2–15 minutes during the golden and blue hours. Personally, I use it only occasionally, when I need to strongly blur slight movement (of clouds, for example). In addition, ND1000 and denser filters are suitable for photographing a solar eclipse: without a very dark filter, shooting the open sun is dangerous both for your eyes and for the camera.
Editor's note on eclipses: an ordinary ND1000 (optical density 3.0) is not a solar filter. NASA's eclipse safety guidance says that viewing any part of the bright sun through a camera lens without a special-purpose solar filter secured over the front of the optics will instantly cause severe eye injury. Use a filter made for solar photography, never a standard ND filter.
| Filter | Stops | Shutter speeds in the article | What it is used for |
|---|---|---|---|
| ND8 | 3 | Around 30 s in the evening city; 1/1000 s instead of 1/8000 s in bright sun; around ½ s for daylight waterfalls | Light trails from traffic, shooting wide open in sunlight, waterfalls that keep their texture |
| ND64 | 6 | Around 30–60 s in the golden and blue hours | Still water surfaces, moving clouds |
| ND1000 | 10 | Around 30 s at bright midday; about 2–15 minutes in the golden and blue hours | Strongly blurring slight movement, such as clouds |
Variable ND filters
ND filters with variable density are also worth mentioning. You can rotate this kind of filter in its mount, adjusting how much it darkens. Technically, a variable ND filter is two polarizing filters placed "face to face." If you have two polarizers on hand, you can make such a filter yourself. However, a variable ND filter also inherits all the quirks of polarizing filters, namely uneven darkening of the frame when used with wide-angle lenses.
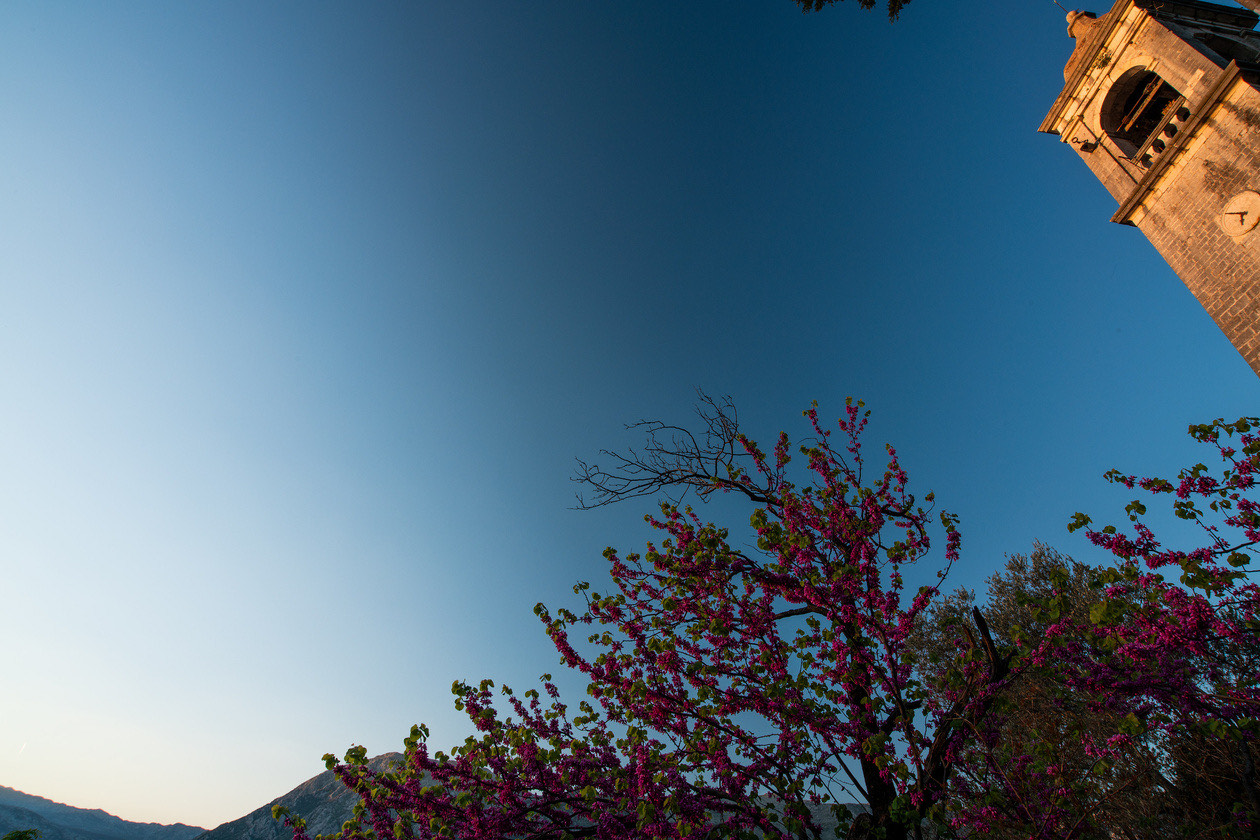
In addition, with these filters you cannot set the required density precisely. And if you cannot set a variable ND filter to a specific value precisely, you also cannot precisely recalculate the exposure for shooting with it.
Shooting with dense ND filters
With filters up to roughly ND16–ND64 (depending on the camera and the lighting), the camera's autofocus and metering will work as usual. You can simply screw on the filter and keep shooting. But darker filters can cause problems. Because they let through very little light, autofocus may stop working and metering will be wrong. So filters like ND1000 call for a special sequence of steps.
Rule of thumb: Up to roughly ND16–ND64, autofocus and metering work as usual, so you can screw the filter on and keep shooting. With darker filters such as ND1000, compose, focus and meter without the filter, turn autofocus off, and mount the filter last.
- If you use a protective filter, it is better to remove it before mounting the ND filter. In general, the fewer filters on the lens, the better the result. Besides, two or more screw-in filters stacked on top of each other can cause vignetting on wide-angle lenses.
- You need to use a tripod, and the frame should be composed in advance.
- If you use autofocus, focus on the subject, and then turn autofocus off with the switch on the lens.
- Now it is time to take a test shot without the filter to check the exposure. If we are happy with the brightness of the frame and it has no blown highlights or crushed blacks, we note the shutter speed, aperture and ISO at which the shot was taken. Instead of taking a test shot, you can view the image in Live view with exposure simulation: the screen will show the correct brightness of the frame before you shoot.
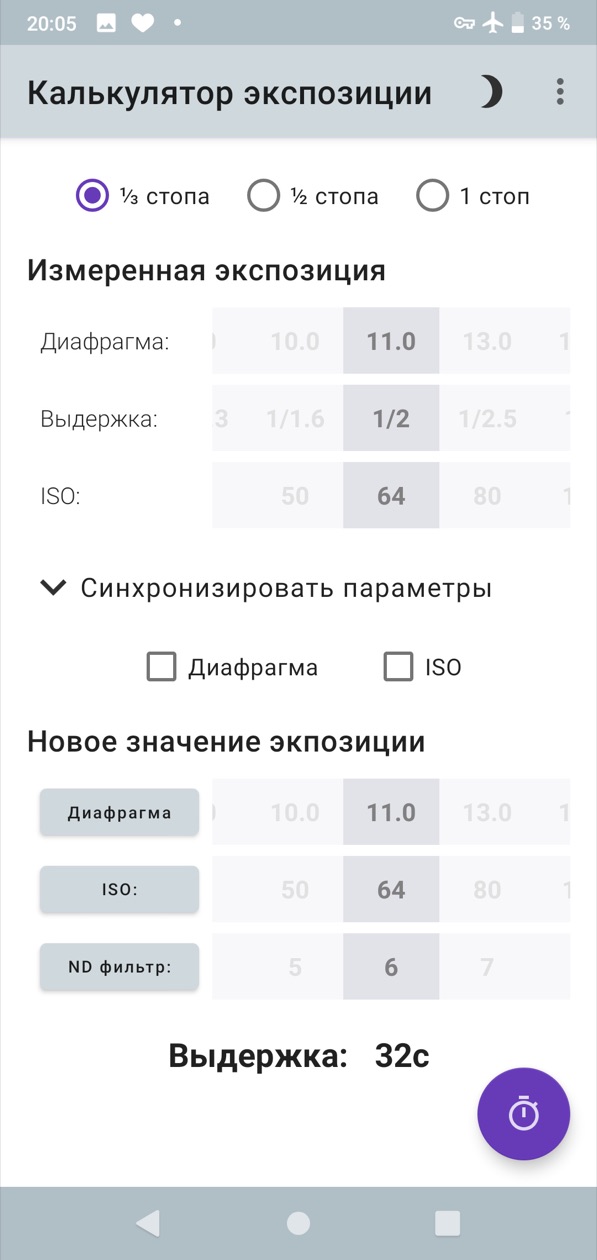
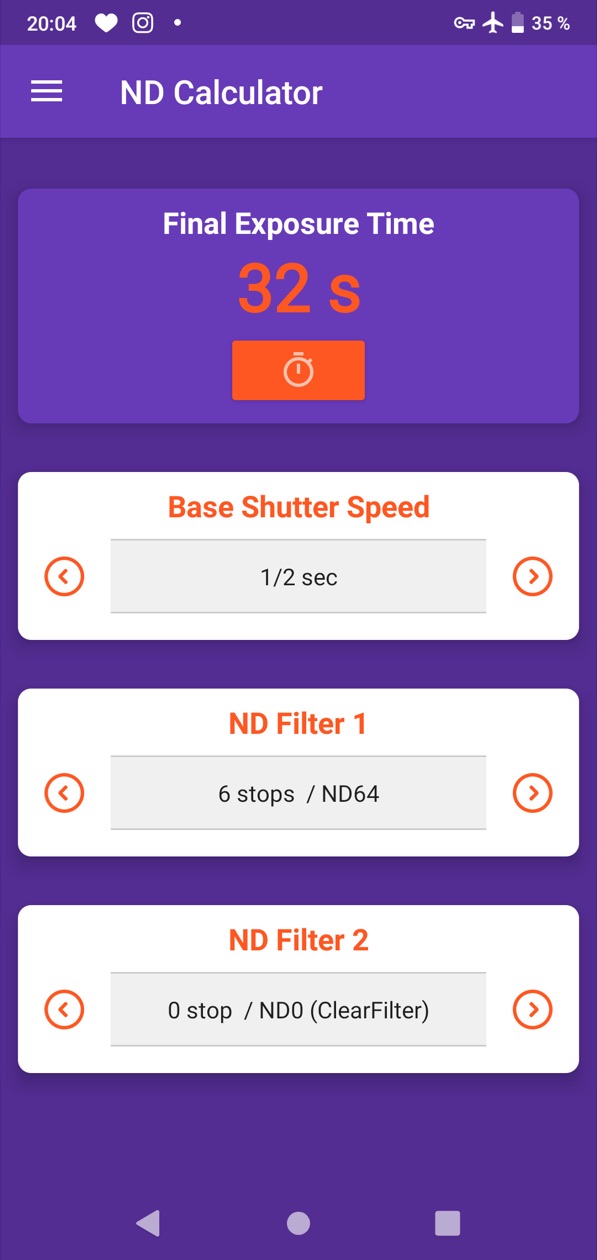
- The exposure has to be recalculated for the filter we are using. For this you can use a special app, an exposure calculator, which will reduce it by the right number of stops. All you need to do is enter the original exposure (without the filter) into the app and set the density of the filter you are using. Then all that is left is to set the resulting long shutter speed on the camera.
- If you are shooting with a DSLR, it is a good idea to cover the optical viewfinder with something, because light that reaches the sensor through it can cause light leaks. Advanced Nikon cameras have a built-in viewfinder shutter for this. If yours does not, you can cover the camera and the viewfinder window from above with an opaque cloth.
- Now that the camera is fixed on the tripod, the frame is composed, focus is set and the exposure is calculated, we mount the filter.
How to get a shutter speed longer than 30 seconds
Modern cameras can automatically time exposures of up to 30 s. What do you do if you need to shoot at even longer shutter speeds? Say we are using an ND1000 filter and need a 2-minute exposure. How do we get it?
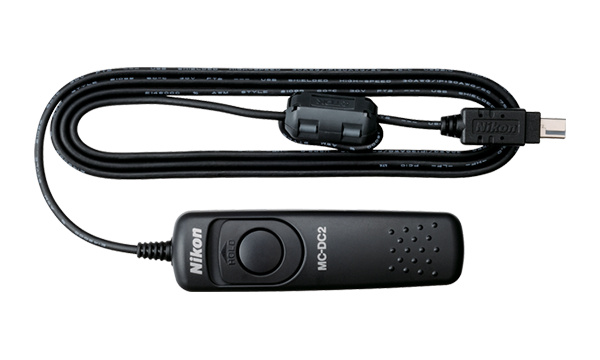
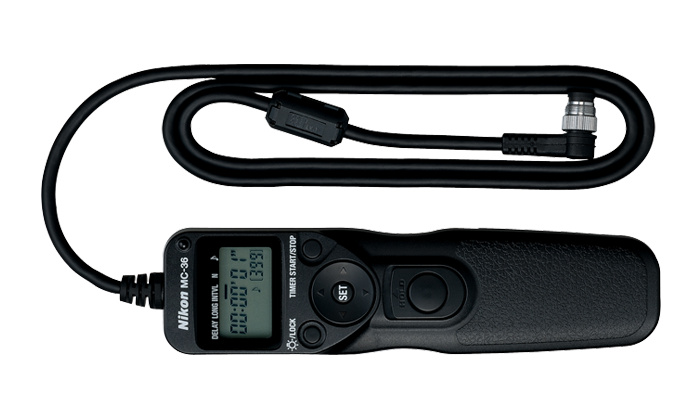
Nikon cameras have 2 modes when setting the shutter speed. The first is Bulb: the exposure lasts as long as we hold the shutter button down. This mode does not suit the most obvious solution, holding the shutter button down with your hand while you shoot. The shaking of your hands will be passed to the camera and the frames will be blurred. Bulb mode is used with remote controls. Simple one-button remotes expect you to time the exposure on any clock you have and hold the remote's button down for the required time. Programmable remotes are more convenient: you can set the required exposure time right on them.
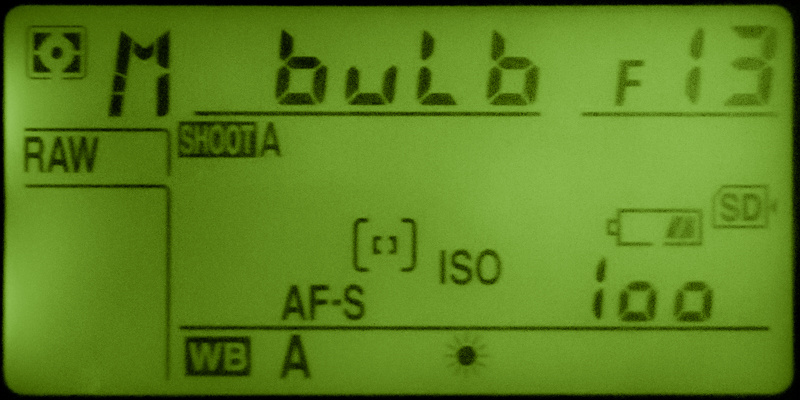
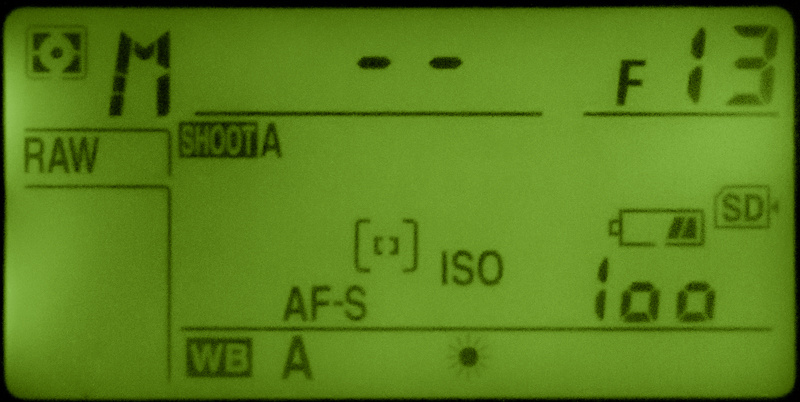
The Bulb and Time modes are available to the photographer in M (manual) mode. Just turn the shutter speed dial toward longer speeds: after the 30 s value, these modes come next.
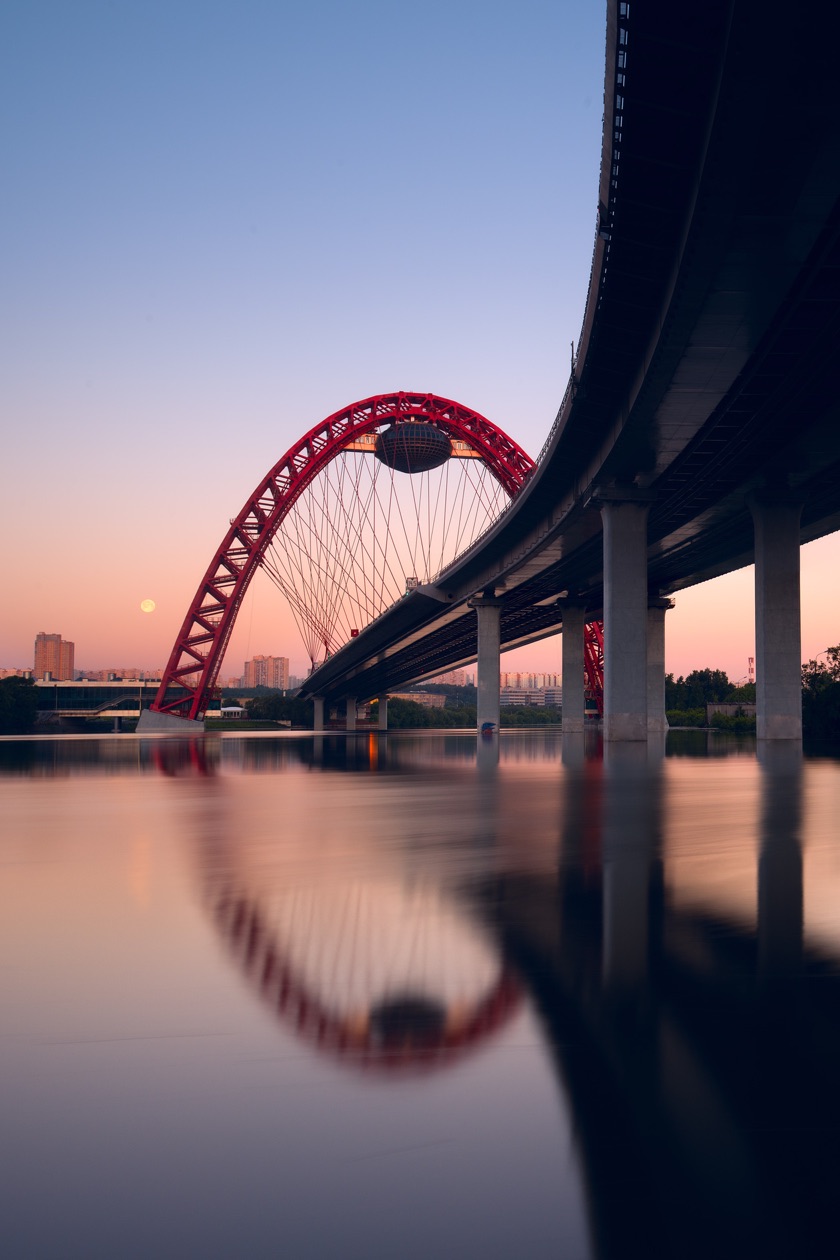
Time mode is more convenient for shooting without a remote. In this mode, the exposure starts with the first press and ends with the second. That means you do not have to keep the shutter button held down during the shot, and you can measure the required time with your smartphone's stopwatch. Besides, perfect accuracy is not needed with exposures longer than a minute; a couple of seconds either way makes no difference.
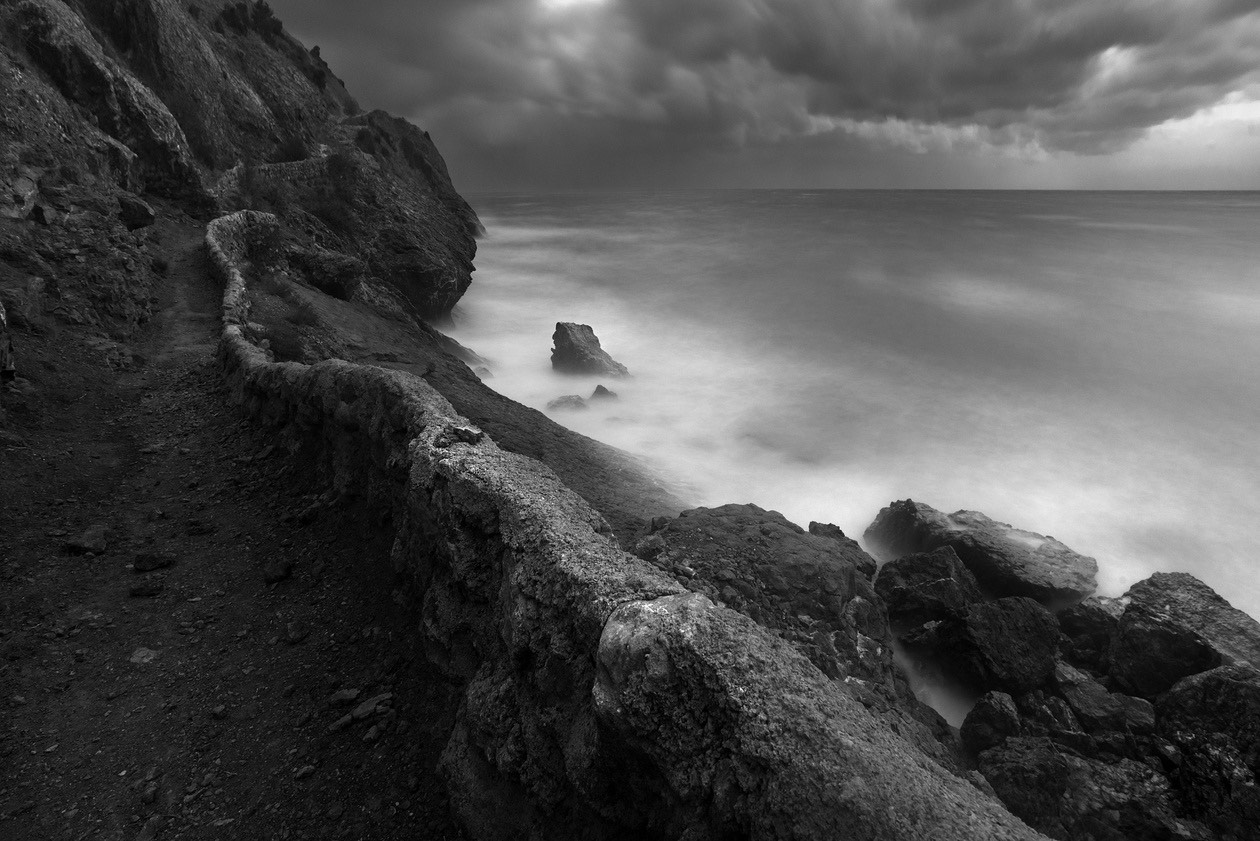
Long exposures are a powerful tool in creative photography. With them you can show movement in the frame in different ways, conveying not only dynamics but also the passage of time, and their use is limited only by the photographer's imagination. ND filters let you achieve truly long exposures and get unusual shots.
Frequently asked questions
- What is an ND filter?
- An ND filter is a neutral density filter: high-quality darkened glass that reduces the light entering the lens without changing colors. Hoya describes it as reducing all wavelengths of light equally, in measured amounts. With less light reaching the sensor, you can choose longer shutter speeds or wider apertures in bright light without overexposing the frame.
- What do ND8, ND64 and ND1000 mean?
- The number says how many times the filter reduces the light. An ND8 cuts the light by a factor of 8, which is 3 stops; an ND64 is 6 stops; an ND1000 is 10 stops. From ND512 up, the marking is rounded, so an ND1000 filter actually reduces the light by a factor of 1024.
- Which ND filter density should I start with?
- An ND8 is probably the most in-demand density. It allows exposures of around 30 seconds in the evening city for light trails, shooting wide open in bright sun (1/8000 s becomes 1/1000 s) and around ½ s for daylight waterfalls. An ND64 gives 30–60 s in the golden and blue hours, and an ND1000 gives around 30 s at midday.
- What is a variable ND filter?
- A variable ND filter is two polarizing filters placed face to face, so rotating it in its mount changes how much it darkens. One filter replaces a set of fixed ones, but it inherits the uneven darkening polarizers show on wide-angle lenses, and its density cannot be set precisely, so the exposure cannot be recalculated precisely either.
- How do I shoot an exposure longer than 30 seconds?
- Switch the camera to M mode and turn the shutter speed dial past 30 s to reach Bulb and Time. Bulb keeps the shutter open while the button is held, so it needs a remote release. Time mode starts the exposure on the first press and ends it on the second, so a smartphone stopwatch is enough.
- Do autofocus and metering work through an ND filter?
- With filters up to roughly ND16–ND64, autofocus and metering work as usual, depending on the camera and the light. Darker filters such as ND1000 pass so little light that autofocus can stop working and metering goes wrong, so you focus and meter without the filter, switch autofocus off, and mount the filter last.
Sources
- How to shoot long exposures: neutral density filters and how to work with them, Konstantin Voronov, Prophotos.ru (2019)
- Neutral-density filter, Wikipedia (2026)
- How a Neutral Density Filter Works, Hoya Filters (2026)
- Eclipse safety, NASA Science (2026)